The purpose of this article is to help users backup a computer using the tools provided by the computer's Operating System (OS).
The WD Network Attached Storage devices (NAS) allow for scheduled and automatic backups to be saved onto them. There are multiple options that can be used in order to backup one or more computers while using one of the network drives. This article will provide information on how to use the recommended ways backup a computer using a My Cloud or My Book Live Storage devices as a backup drive.
Apple File Protocol (AFP) is no longer supported on My Cloud Home firmware 7.16.0-217 and higher.
For more information, please refer to Answer ID 32004 My Cloud Home: mac OS Time Machine Error "Backup Disk Not Available"
| Windows 10 & 11 File History | Click here for Instructions |
| Windows 7 Backup and Restore | Click here for Instructions |
| macOS Time Machine (My Cloud and My Book Live) |
Click here for Instructions |
Windows File History Tool
IMPORTANT: If this is the first time using a My Cloud device and need assistance setting up the unit, please visit Answer ID 27433: How to Set up a My Cloud Device Using the Dashboard.File History is a built-in, continuous backup tool of Windows 8 and Windows 10. Its basic function is to periodically back up the User’s Libraries (Documents, Music, Pictures and Videos) to another hard drive. WD Network Attached Storage devices can be the targets of said backup. In order to use File History to backup the User's Libraries, please follow the instructions below:
For more informaiton on how to use Windows File History backup, please refer to one of the articles below.
Instructions
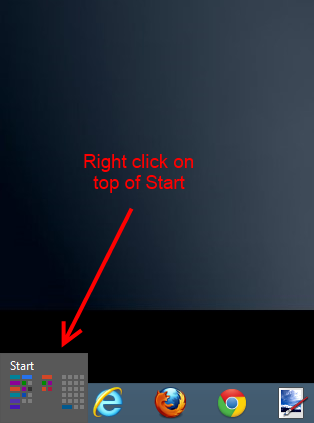
- Move the mouse to the bottom left corner of the desktop to make the Start icon to appear. Then, right click on the mouse.
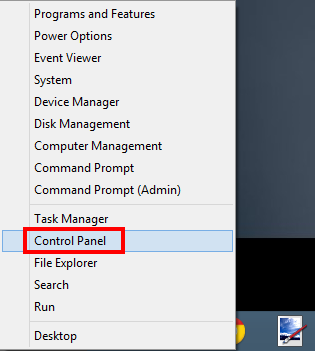
- Right-clicking on top of Start will display a list of options. From the list open Control Panel.
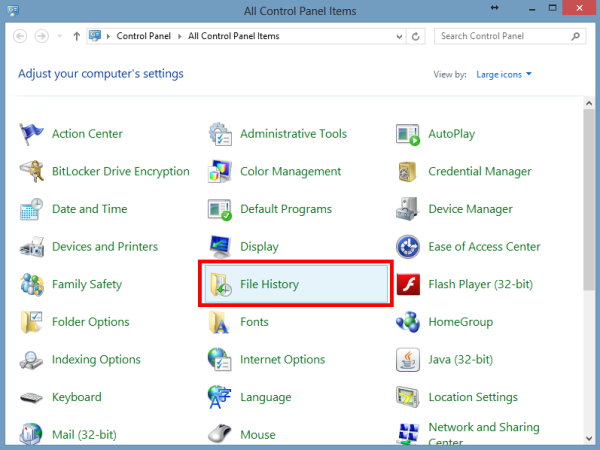
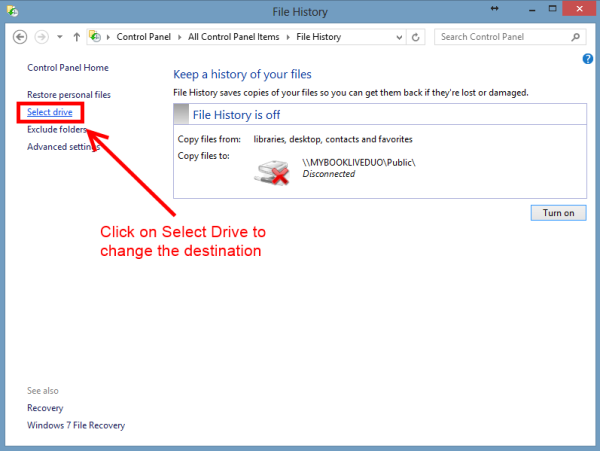
- On the Control Panel window, click on File History.
- On the File History window, click on Select Drive, located on the left-side panel.
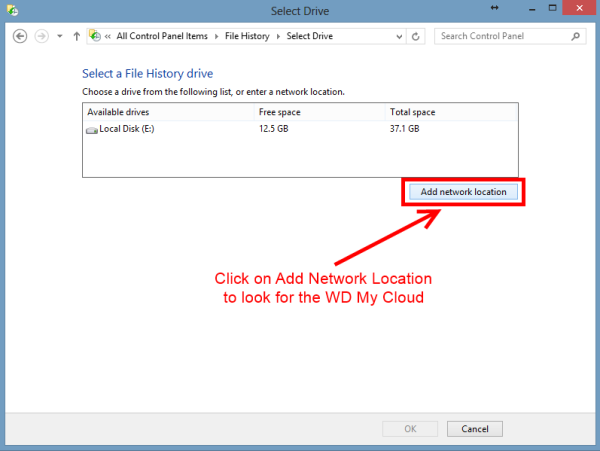
- The available drives will be listed. Click on Add network location to search for network drives to add to the list.
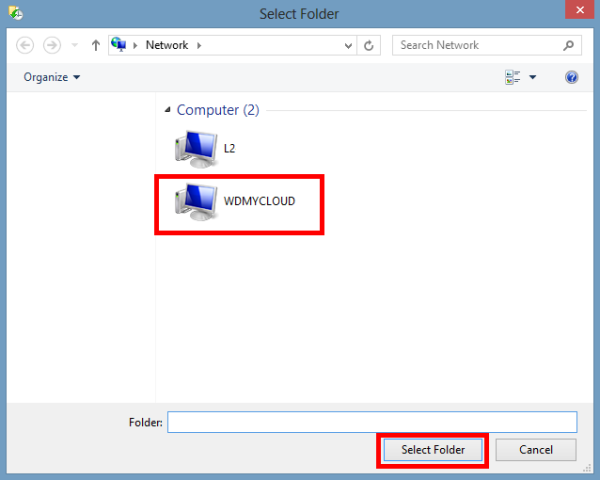
- From the list of network drives, select the WDMYCLOUD and click on Select Folder.
IMPORTANT:Network Drives may not appear when using a Windows 10 Computer because CIFS/SMBv1 and Network Browse has been depreciated. For more information, please refer to Answer ID 25436: How to Map a WD Network Drive on Windows 11 and Windows 10
If Network Drive do not appear, and if the device name has not changed, use the "Default Network Path" in the table below for the WD device on your network. If the device name has been changed, use your existing My Cloud name.
For more information, please refer to Answer ID 24978: My Cloud, My Cloud Home or Network Drive: Windows 10 & 11 File Backup Does Not See Device
- Enter the \\NETBIOSNAME or \\IPADDRESS into the "Network" bar
- Press the Enter Key on the Keyboard to view and access the device as a network share
Product Name Default Network Path My Cloud Home \\MYCLOUD-XXXXXX
* Where XXXXXX is the last 6 digits of the serial numberMy Cloud Home Duo \\MYCLOUD-XXXXXX
* Where XXXXXX is the last 6 digits of the serial numberMy Cloud \\WDMYCLOUD My Cloud Mirror \\WDMYCLOUDMIRROR My Cloud Mirror Gen2 \\WDMYCLOUDMIRROR My Cloud EX2 \\WDMYCLOUDEX2 My Cloud EX2 Ultra \\MYCLOUDEX2ULTRA My Cloud EX4 \\WDMYCLOUDEX4 My Cloud EX2100 \\WDMYCLOUDEX2100 My Cloud EX4100 \\WDMYCLOUDEX4100 My Cloud DL2100 \\WDMYCLOUDDL2100 My Cloud DL4100 \\WDMYCLOUDDL4100 My Cloud PR2100 \\MYCLOUDPR2100 My Cloud PR4100 \\MYCLOUDPR4100 My Book Live \\MYBOOKLIVE My Book Live Duo \\MYBOOKLIVEDUO
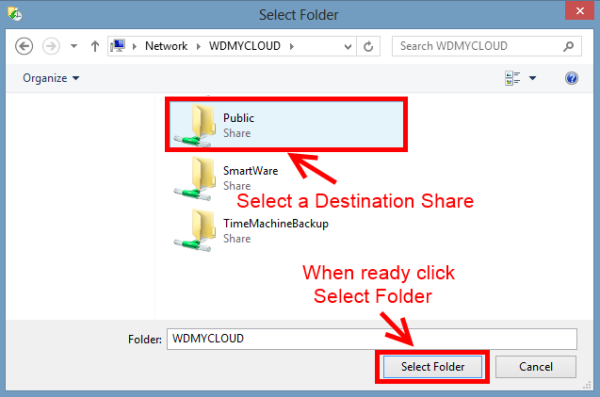
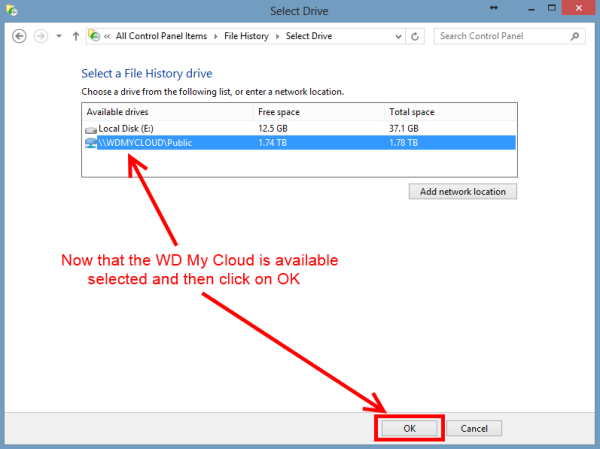
- The available shares within the network drive will be listed. Select a share to hold the File History backup and click Select Folder.
- Now, the selected share will be listed as an available drive. Select it and click on Ok.
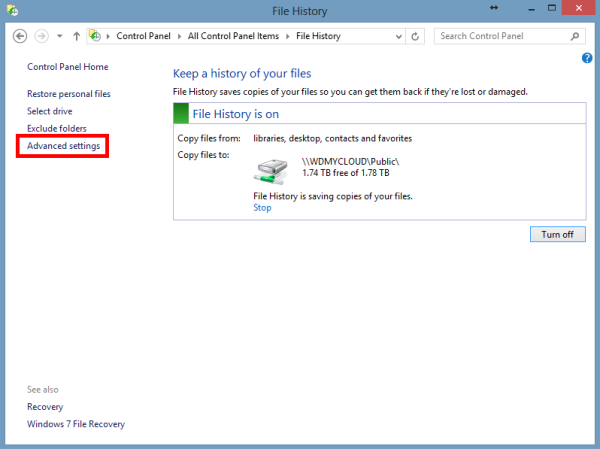
- Once selected, File History will start saving copies of the files into the designated drive. For more options on how File History behaves, click on Advanced Settings on the left-side panel.
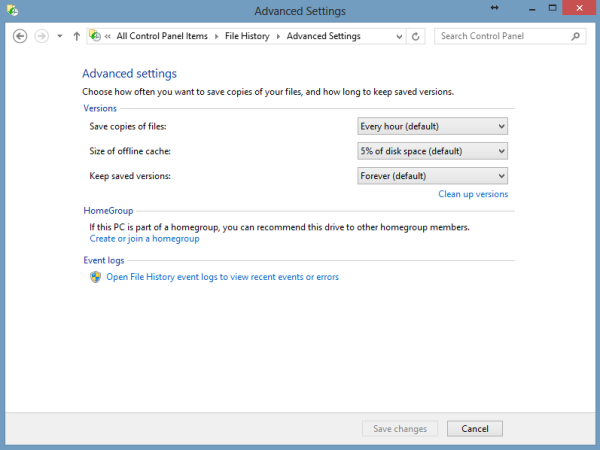
- Under Advanced Settings, different options can be altered, such as how often the backup occurs and how long the files are stored for.
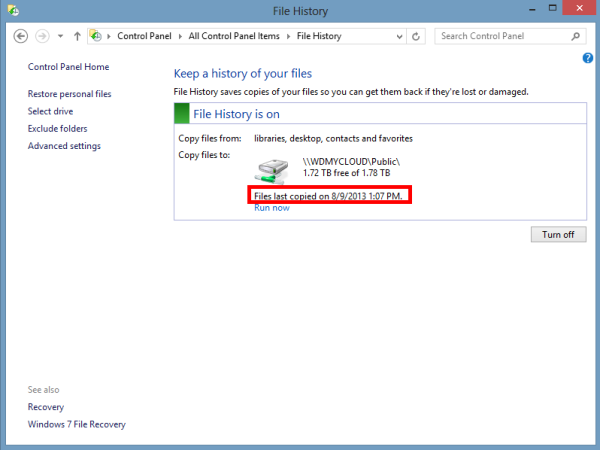
- Leave the backup running until it finishes. The File History panel will display the time when the last backup was made.
Windows 7 Backup and Restore Tool
IMPORTANT: If this is the first time using a My Cloud device and need assistance setting up the unit, please visit Answer ID 27433: How to Set up a My Cloud Device Using the Dashboard.Windows 7 has an integrated tool that allows the backup and restoration of a user's files. In order to use the native Windows 7 Backup and Restore utility, please follow the steps listed below:
For more information on how to use Windows backup please click on the link below.
https://support.microsoft.com/en-us/help/17127/windows-back-up-restore
 | In order to back up to a Network Share using Windows 7 Backup and Restore, the user must have Windows 7 Professional or Enterprise editions. This is an Operating System (OS) limitation. For more information, please contact Microsoft Support. |
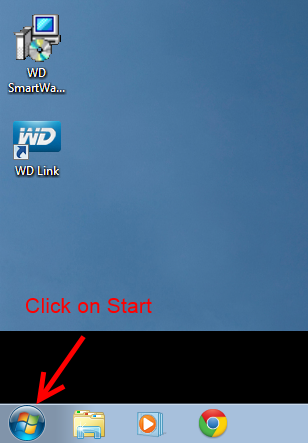
- Click on Start.
- Click on Control Panel.

- In Control Panel, click on Back up your computer under the System and Security area.
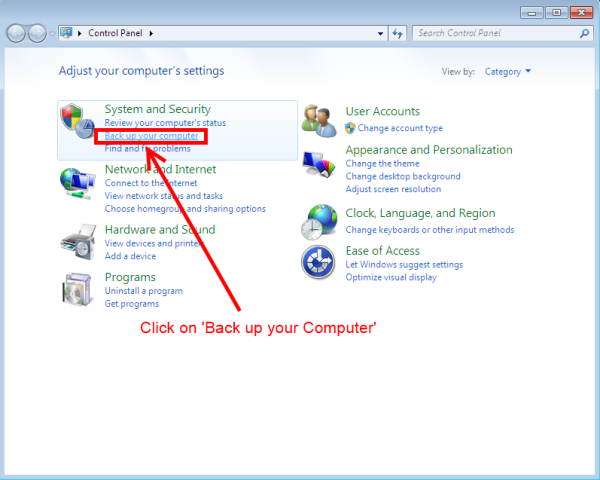
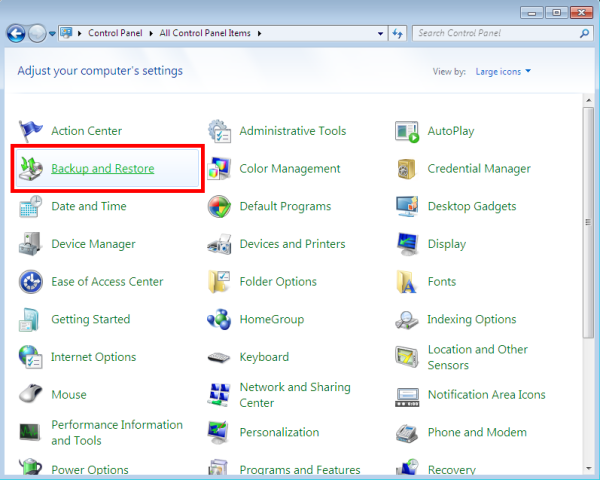
Alternatively the option will be Backup and Restore, depending on the layout on Control Panel.
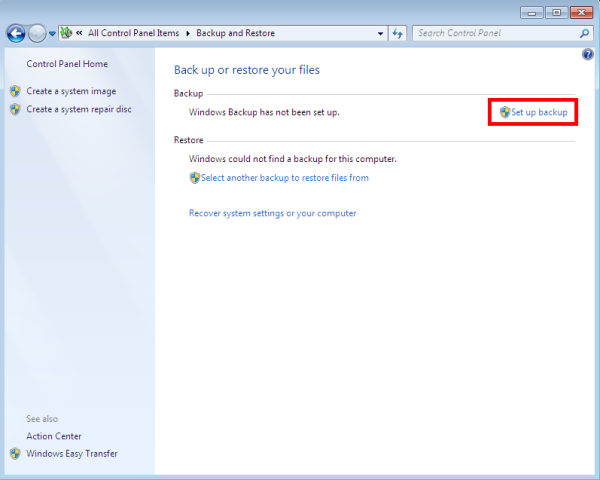
- Once in the Backup and Restore area, click on Set up backup on the top-right of the screen.
- The Starting Windows Backup pop-up will appear. Wait for the Windows Backup wizard to start. This may take a few seconds.
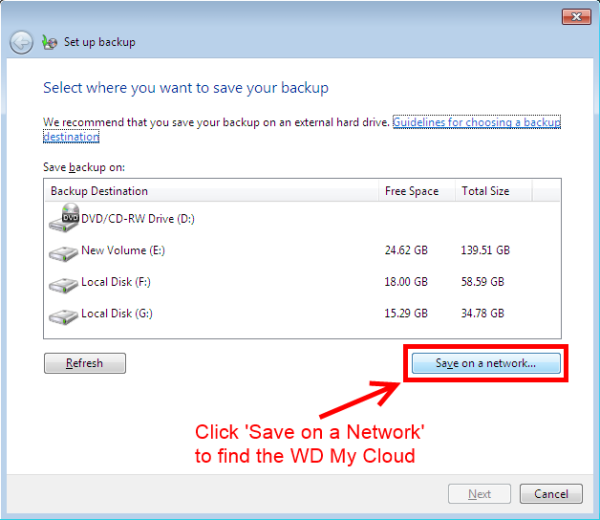
- A list of Backup Destinations will appear, displaying the local drives. Click on Save on a network... option to look for the WD Network Drive.
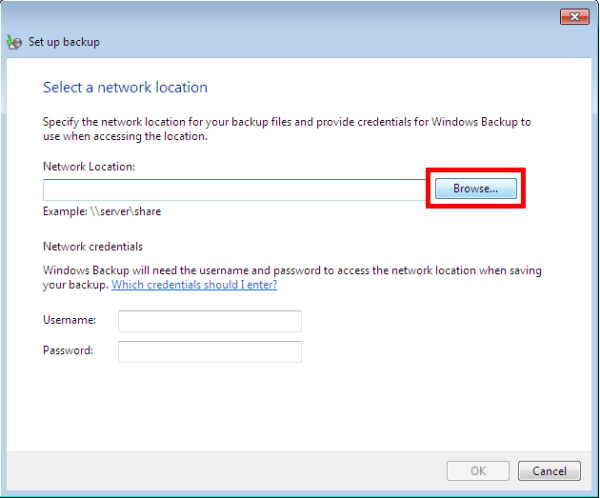
- Click on Browse to look for an available share.
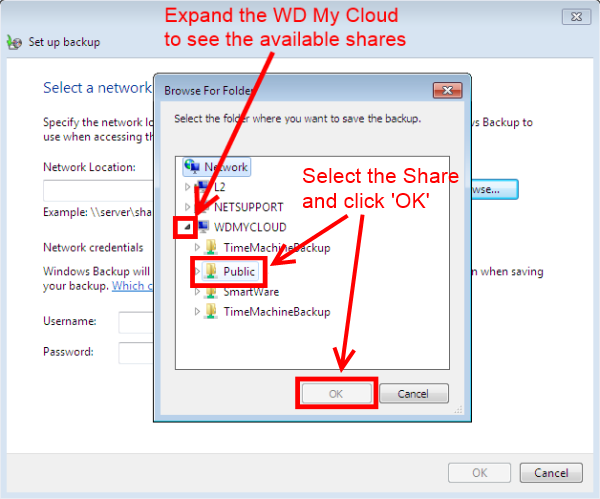
- On the Browse For Folders window, expand the WDMYCLOUD to display the available shares. Select the desired share and click on Ok.
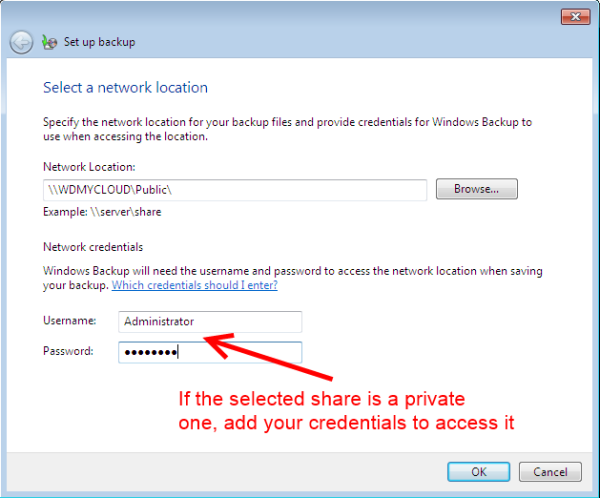
- Once the destination share is selected, input the necessary credentials (username and password) to provide Windows with the necessary access to the network share. Once done, click on Ok.
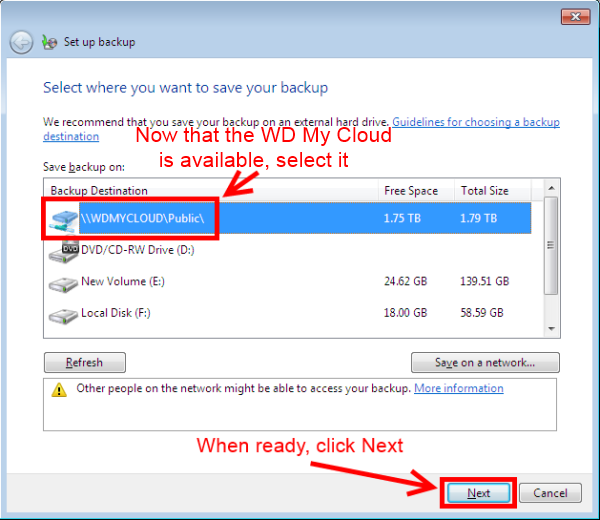
- Now, the My Cloud should have the selected share available in the Backup Destination window. Select that share and click on Next.
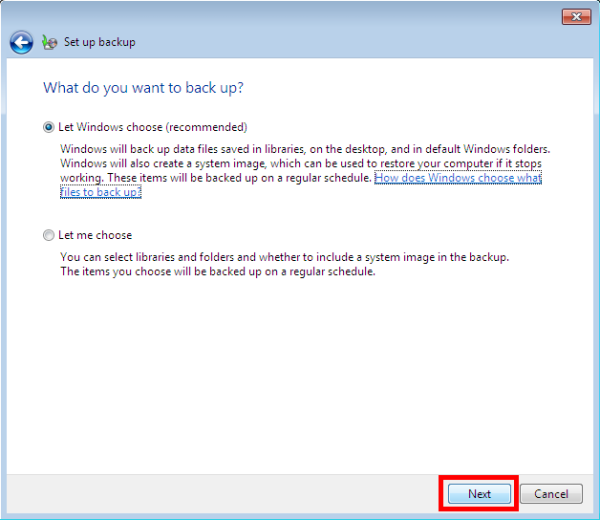
- Next, Windows will allow for a user to either select the contents that are to be backed up, or provide an option for Windows to select the backup's content. Select the desired method and click on Next.
- Review the items that are to be backed up, and when satisfied with the backup's content, click on Save settings and run backup.
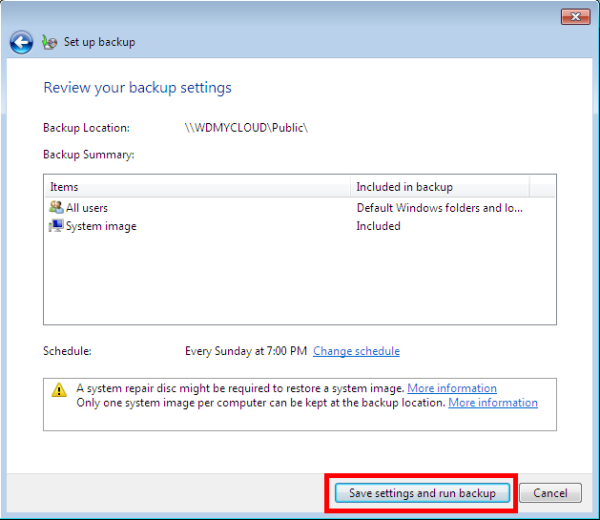
Initially the backup will be performed on a weekly basis. Click on Change Schedule to see more options on when the backup is to be performed.

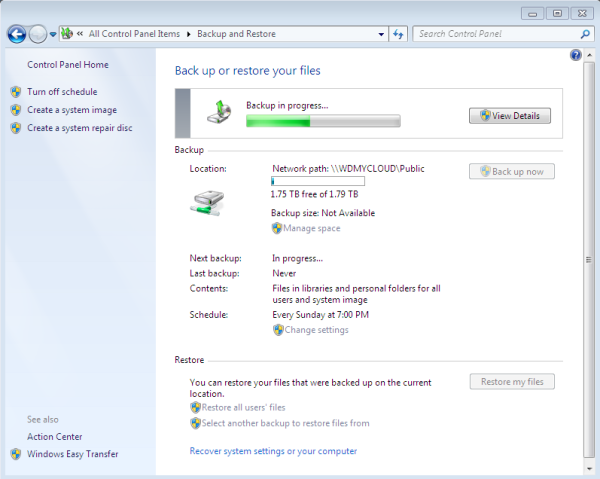
- The backup will immediately start and a backup progress bar will display for the duration of the operation. This process may take several hours to complete.
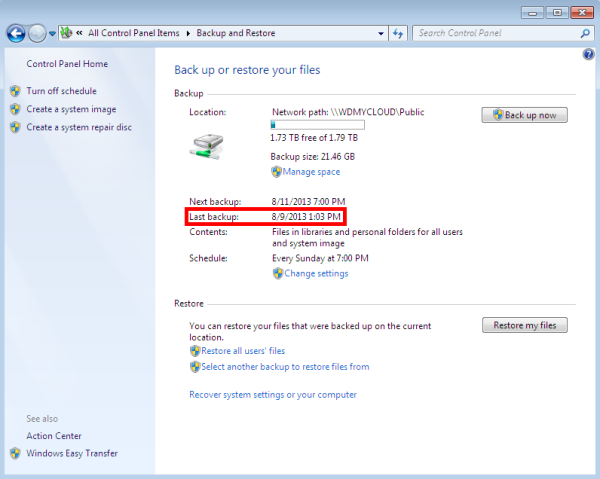
- Once completed, the backup area will display the both the last time the backup was made, as well as the next backup's date.
macOS Time Machine
IMPORTANT:- If this is the first time using a My Cloud device and need assistance setting up the unit, please visit Answer ID 27433: How to Set up a My Cloud Device Using the Dashboard
- Apple's Time Machine requires a Time Machine server, running on the network attached storage drive to function. The WD Sentinel family of NAS products run on a Windows-based operating system, and does not support Apple's Time Machine
- Time Machine backups can be encrypted, adding a layer of data protection and privacy. For more information, please refer to Answer ID 26160: How to Setup an Encrypted Time Machine Backup on macOS
Time Machine is a macOS built-in utility used to back up a user's programs and files onto an external Direct Attached Storeage (DAS) or Network Attached Storage (NAS) drive.
Please follow the instructions below in order to use Time Machine to back up to a WD Network Attached Storage (NAS) device:
For more information on how to use Apples Time Machine please click on the link below.
https://support.apple.com/en-us/HT201250
For a video tutorial how to use Time Machine please see Answer ID 18952: Time Machine Backup and Restore from macOS to a WD External Drive
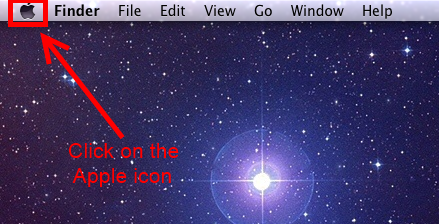
- Click on the Apple icon on the top-left of the screen.
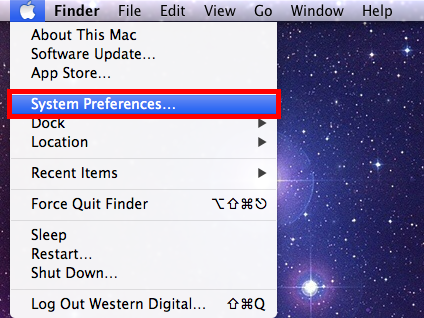
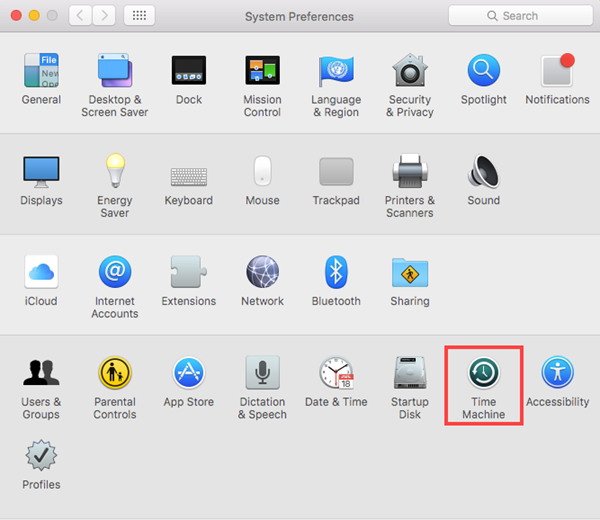
- From the drop down menu, click on System Preferences....
- On the System Preference Window, open Time Machine.
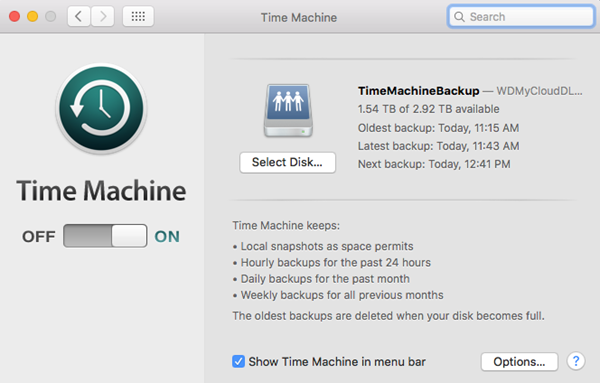
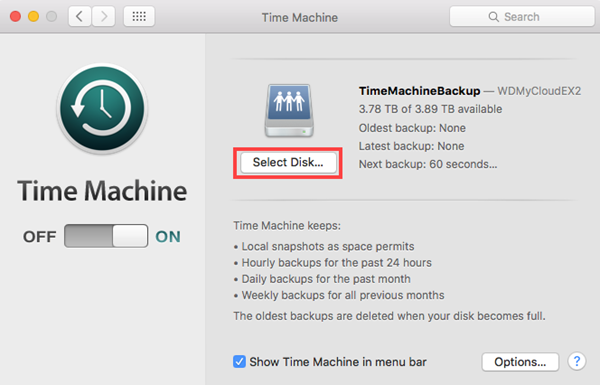
- Once Time Machine opens up, click on Select Disk....
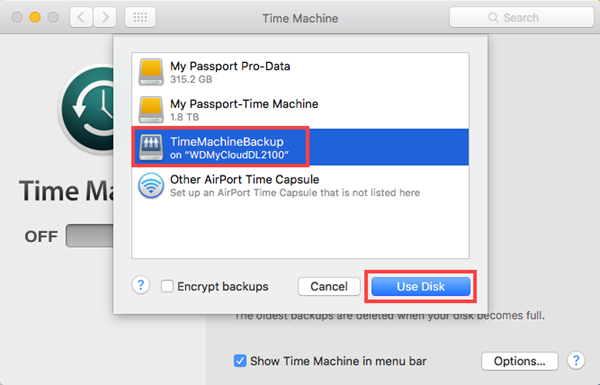
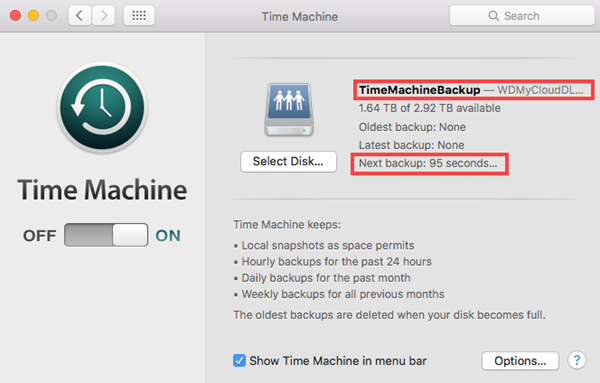
- From the list of available drives, click TimeMachineBackup on WDMyCloud device and click on Use Disk.
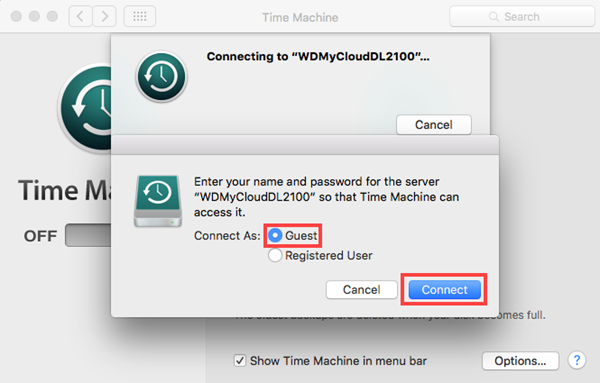
- A pop-up window will request to log into the drive either as a Registered User or as a Guest. For Time Machine to connect to the Time Machine Share of the My Cloud, select Guest and click Connect.
- Once that's done, the My Cloud will be the selected destination for Time Machine backups and the first backup will immediately start in a couple of minutes.
- The Time Machine backup will start on its own and a progress window will appear. Allow this process to run through, which may take several hours.
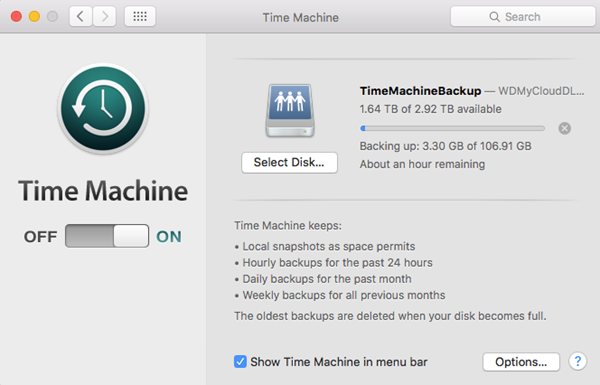
- Once the backup is completed, the date of the latest backup will be displayed in the Time Machine panel, along with the date of the next backup.