This article explains how to import or recover a previously created Safepoint onto a My Cloud running firmware version 2.10.*END
IMPORTANT: My Cloud OS 3 End of Support Notice!
The My Cloud cannot be updated to OS 5.
My Cloud OS 3 has reached its end of support life cycle on April 15, 2022.
Need more help?
- My Cloud OS 3 End of Support
- WDC 21004 Bulletin: Recommend Upgrade to My Cloud OS 5
- Answer ID 32059 My Cloud OS 3: Cloud Access and Notification Email Support Removed
- Answer ID 28740: Western Digital Product Lifecycle Support Policy
The Safepoint Migration App is an App for the single bay My Cloud drives running firmware version 2.10. The App enables users to import or recover Safepoints that were created on a single bay My Cloud drive that is running firmware version 04.04. In order to use the Safepoint Migration App to recover a Safepoint, please follow the steps listed below:
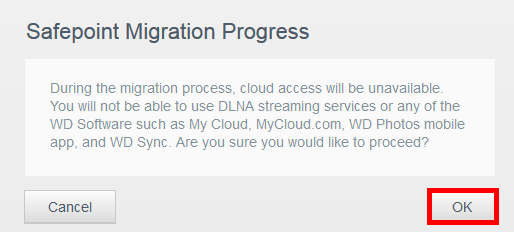
IMPORTANT: During the migration of the Safepoint, DLNA streaming services, WD Photos, WD Access, WD Sync, MyCloud.com, and any other cloud access software or service will be unavailable.Using Safepoint Migration App:
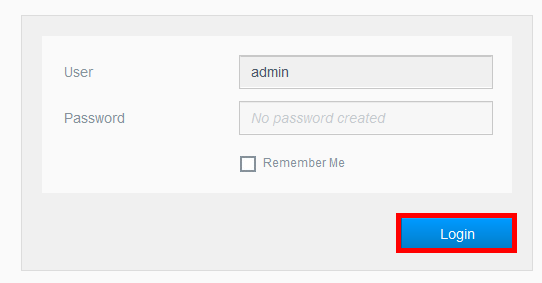
- Log into the Dashboard of the My Cloud as the Admin user. For assistance accessing the Dashboard, please see Answer ID 27432: How to Access the Dashboard on a My Cloud Device.
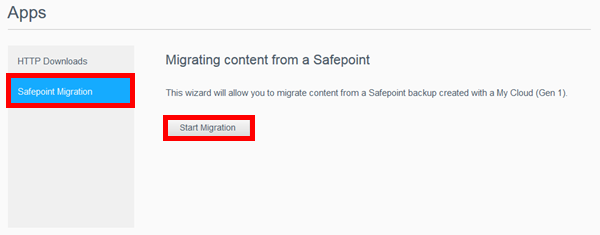
- Once inside the Dashboard, click on the Apps tab of the Navegation bar.

- Select the Safepoint Migration App, and click on Start Migration.
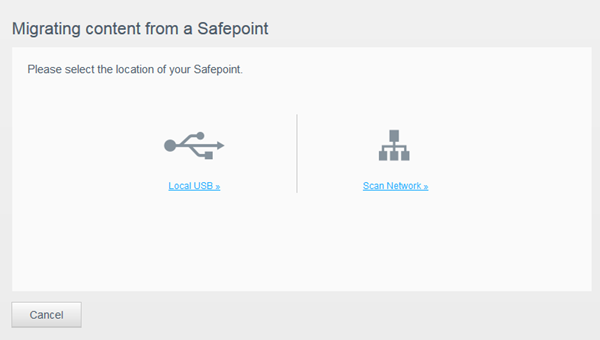
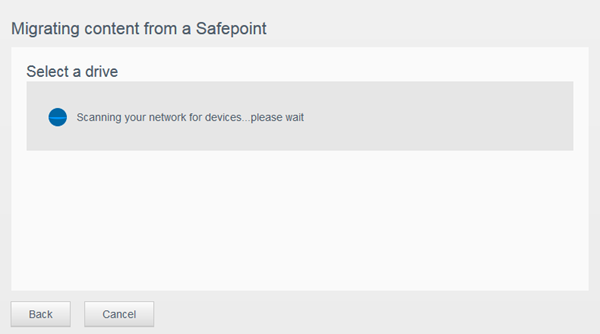
- The next section allows users to select the location where the device containing the Safepoint is located. Select Local USB if the Safepoint is in a USB drive attached to the My Cloud, or select Scan Network if the Safepoint is located on a network device.
- The My Cloud will scan the selected location for available devices.
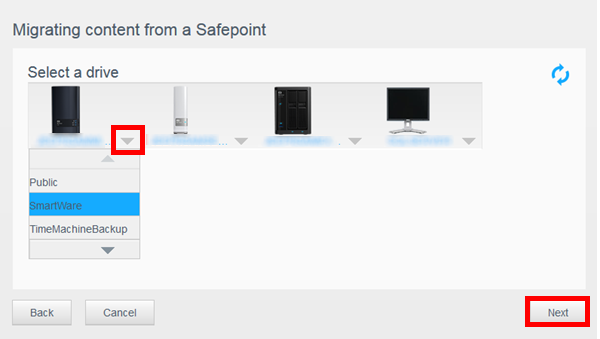
- Select the device that holds the Safepoint, and click on Next. If the device is a network drive, select the Share that holds the Safepoint, and then click on Next.
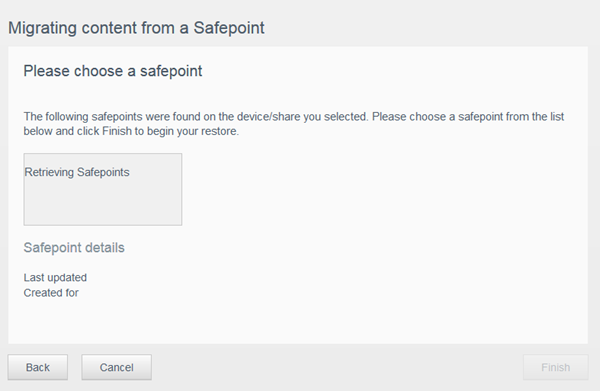
- Wait till the available Safepoints are retrieved. This may take several seconds.
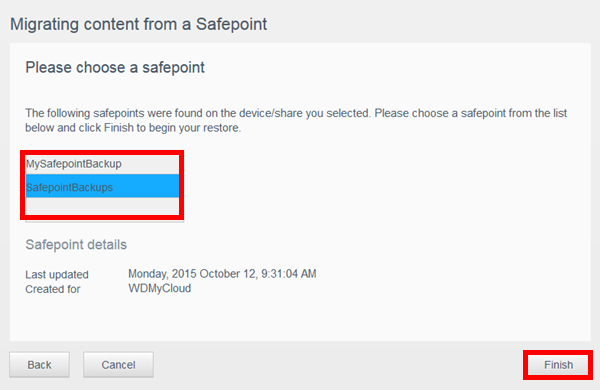
- All Safepoints will be displayed after being discovered. Select the desired Safepoint to restore, and click on Finish.
- Click on OK.
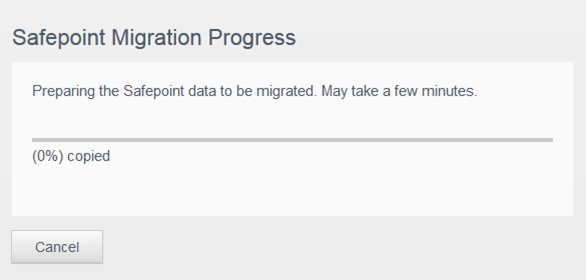
- The Safepoint Migration Progress window will display. This process may take a few minutes.
- Once the progress finishes, the data has been successfully restored. Click on OK.
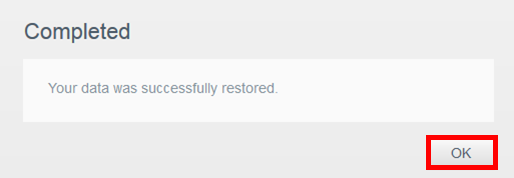
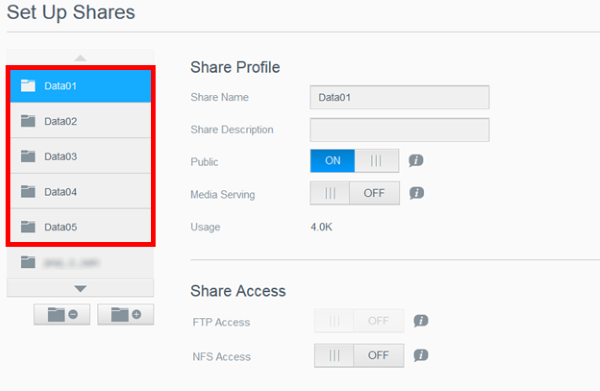
- The migrated data will be available for review on the Shares tab of the Dashboard.