IMPORTANT: My Cloud OS 3 End of Support Notice!
My Cloud OS 3 has reached its end of support life cycle.
Please update to My Cloud OS 5.
Need more help?
- My Cloud OS 3 End of Support
- WDC 21004 Recommend Upgrade to My Cloud OS 5
- Answer ID 32059 My Cloud OS 3: Cloud Access and Notification Email Support Removed
- Answer ID 29813: Steps to Manually Update My Cloud OS 3 to My Cloud OS 5
- Answer ID 28740: Western Digital Product Lifecycle Support Policy
A Share is an area on the My Cloud EX2 Ultra device for storing files. The device will allow multiple users access to a Share and the ability to provide different levels of access for those users.
 | Screen Shots may vary depending on the version of the My Cloud EX2 Ultra device. |
Creating a Share
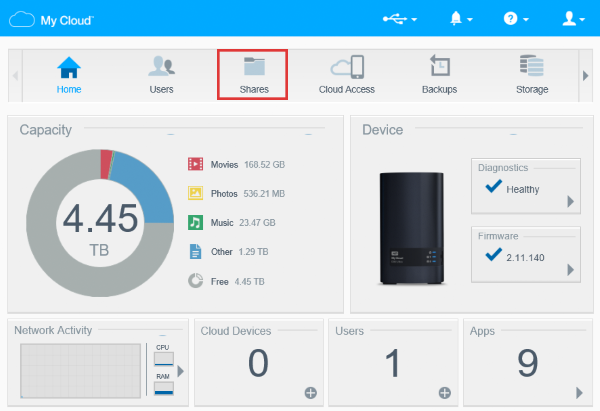
- From the main page of the My Cloud EX2 Ultra Dashboard, click the Shares button of the Navigation bar. For assistance accessing the Dashboard, please see Answer ID 1658: Steps to Access the Dashboard on a My Cloud OS 3 EX2 Ultra.
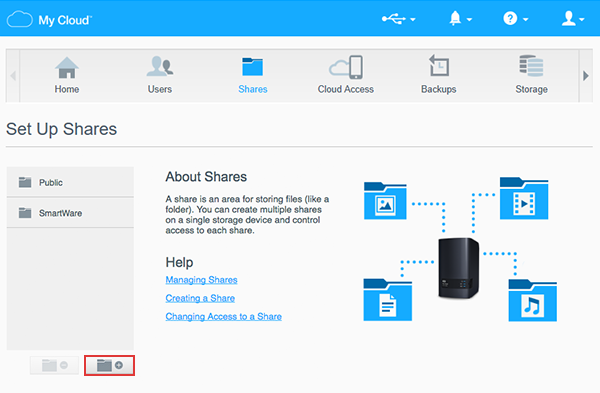
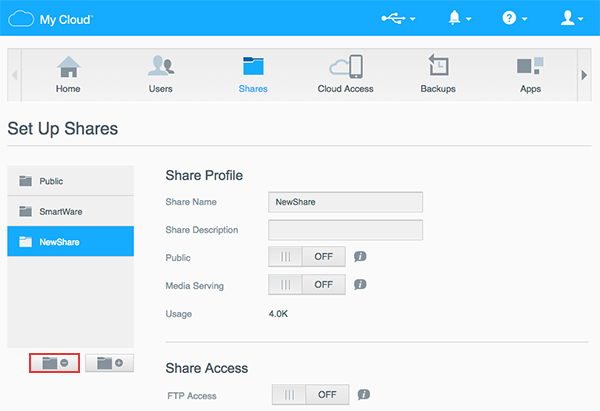
- Click on the Add a Share icon
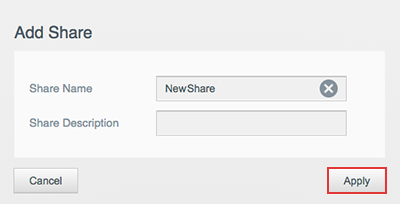
- An Add Share dialog box will be displayed. Enter a Share name
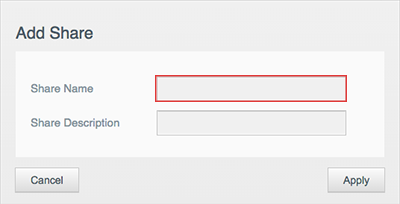
- Click on Apply
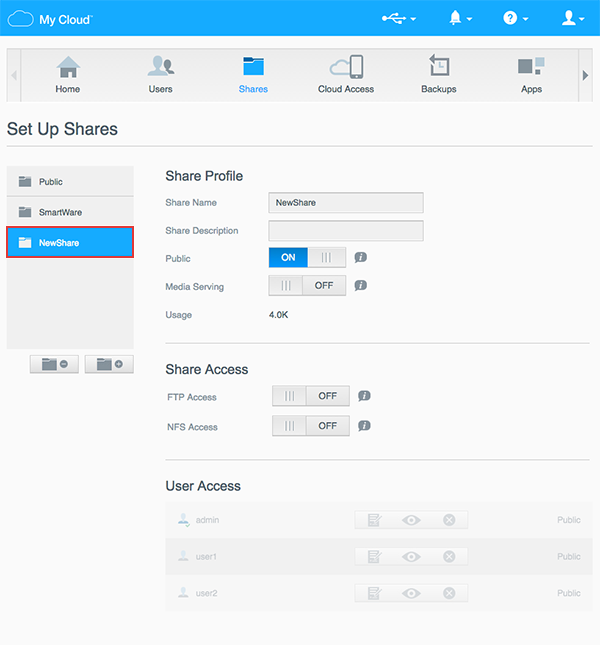
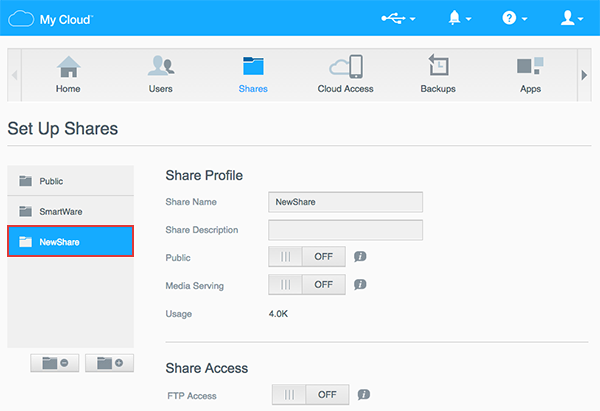
- The new Share has been created and is listed in the left side panel with other existing shares. Click on the Share to view the Share Profile
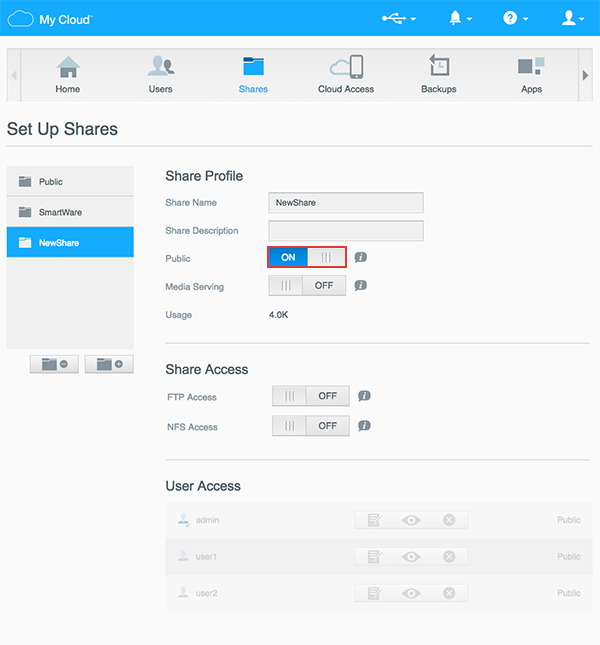
- By defualt Public Access option is set to On. Changing it to Off will set the Share to be Private and will allow custom access to be given to other users
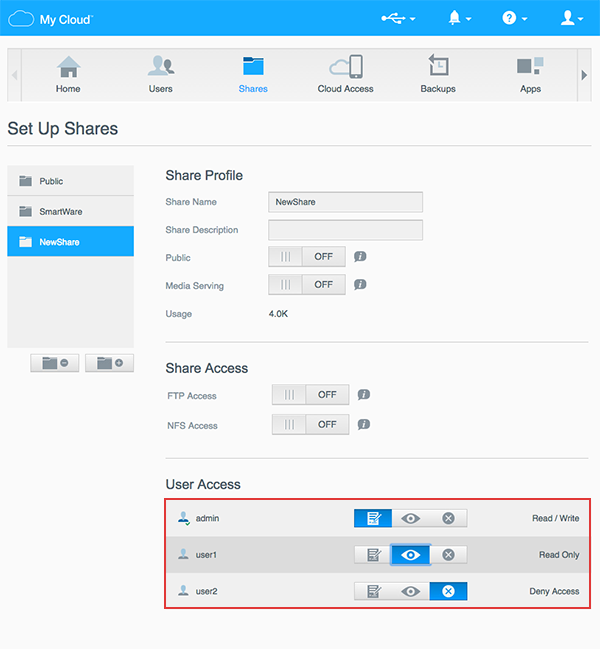
- When logged in to the device as the Administrator, User Access can be set for all users
- Read/Write: Users with this permission level will be able to add, remove and modify files and folders within a specific share
- Read Only: Users with this permission level will be able to view, open and copy files and folders within a specific share.
Files and folders within a read-only share cannot be modified or deleted - Deny Access: Users with this permission level will be denied any access to the files and folders within a specific share
Deleting a Share
 |
Critical: Deleting a Share will erase all files and folders on the share. This process is Data Destructive and cannot be undone. Once the Share is deleted, ALL DATA ON THE SHARE WILL BE LOST. |
- Click on the Share to be deleted
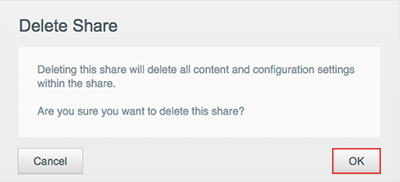
- Click on the Delete a Share icon
- A Delete Share dialog box will be displayed. Click on OK