This article explains how to encrypt a RAID volume on a WD My Cloud multi-bay device.*END
Volume Encryption on a My Cloud supports the following features.
- 256-bit AES volume encryption
- manual encryption volume mount - dashboard access and password required at each system boot to mount the encrypted volume
- automatic mounting of encrypted volumes - dashboard access and password credential not required at each system boot
- Download and saving of the volume encryption key
- RAID volume encryption will result in decreased performance
- Switching between manual and automatic mounted encryption volumes is not supported
- The My Cloud OS 3 Volume Encryption Password is not compatible after an upgrade to OS 5. The Volume Encryption Password must be changed after the update to My Cloud OS 5.
IMPORTANT:
- Please ensure to have a backup of the data stored on WD My Cloud device to another location.
- Ensure that your My Cloud product firmware is up to date.
For assistance with updating My Cloud firmware, refer to Answer ID 10440 How to update the firmware on a My Cloud device - The instructions in the article below are designed for encrypting a RAID volume on a supported WD My Cloud device. Please make sure to save and backup the encryption key and the original password. Without the encryption key or the original password, it is not possible to access the encrypted data that is stored on the WD My Cloud device.
Creating an encrypted RAID volume on a WD My Cloud NAS
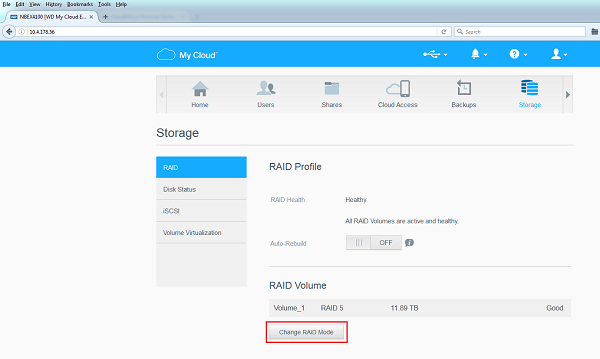
- To encrypt a RAID volume on a WD My Cloud device, navigate to the My Cloud Dashboard and go to the Storage tab.
See the following article for more information on how to access the My Cloud Dashboard: Answer ID 27432: How to Access the Dashboard on a My Cloud Device - Click on Change RAID Mode
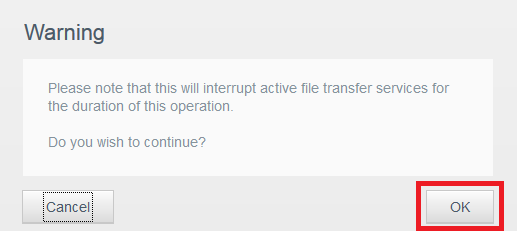
- Click OK
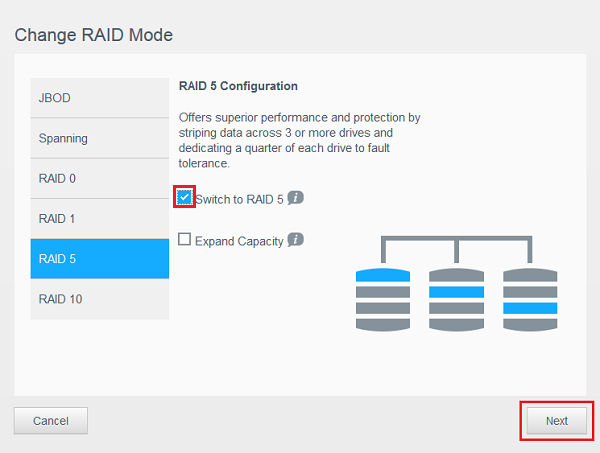
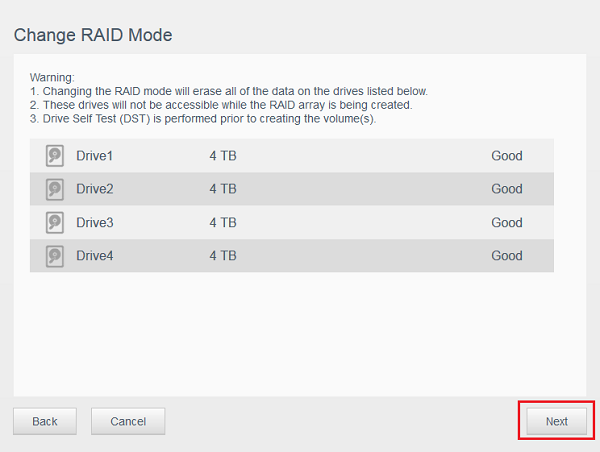
- Choose the desired RAID configuration and put a check mark next to Switch to "chosen RAID" and click Next
- Wait for the Drive Self-Test to complete
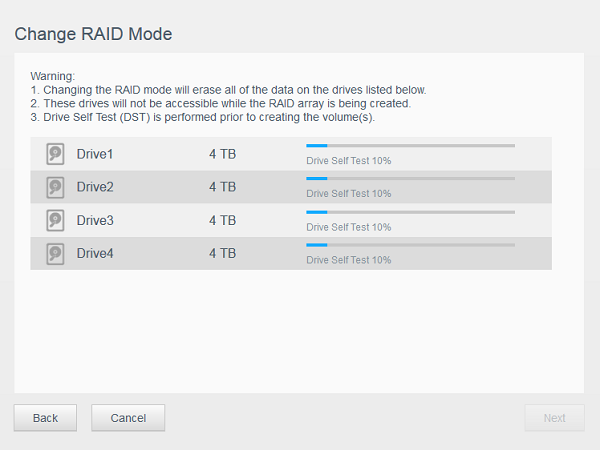
- Click Next
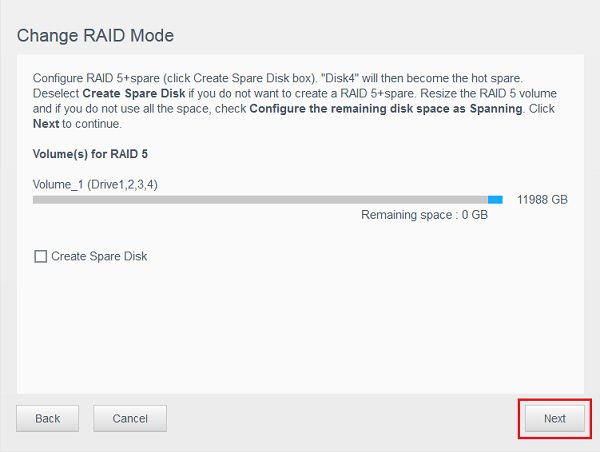
- Click Next
- Auto Rebuild: Automatically rebuilds the RAID volumes on your sustem when you add or remove hard drive(s).
Click Next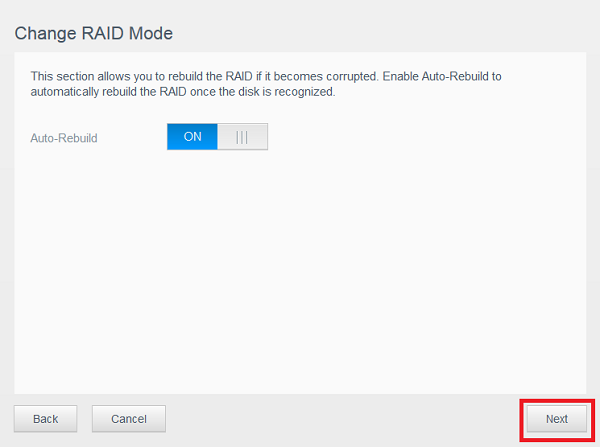
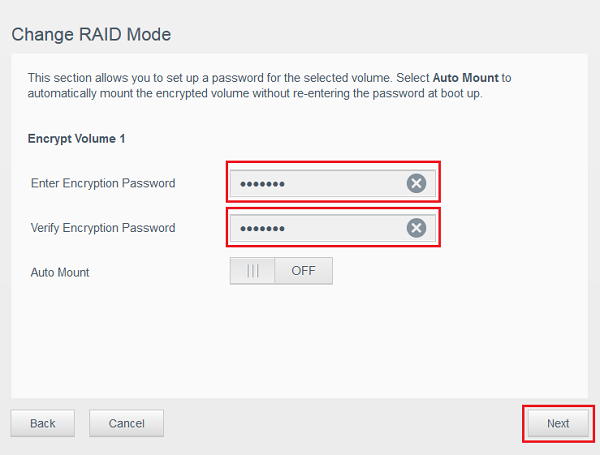
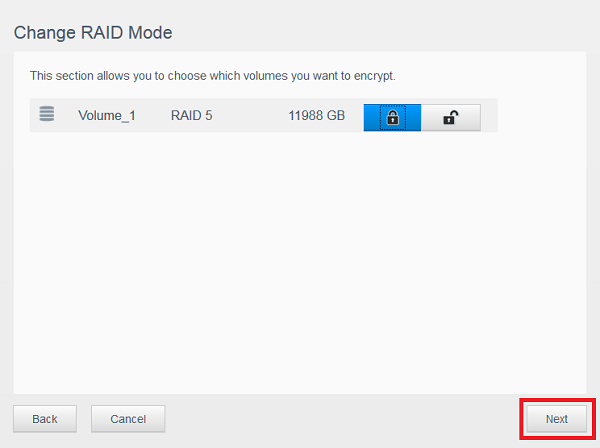
- Choose the lock tab to encrypt the volume and click Next
- Enter and Verify the Encryption Password
- Select a volume mount option
- Manual Mount (default) - requires entering the volume encryption password through the dashboard of the My Cloud after every power cycle
- Auto Mount - will automatically mount the encrypted volume without the need to access the dashboard and enter the volume enryption password after every power cycle
- Click Next
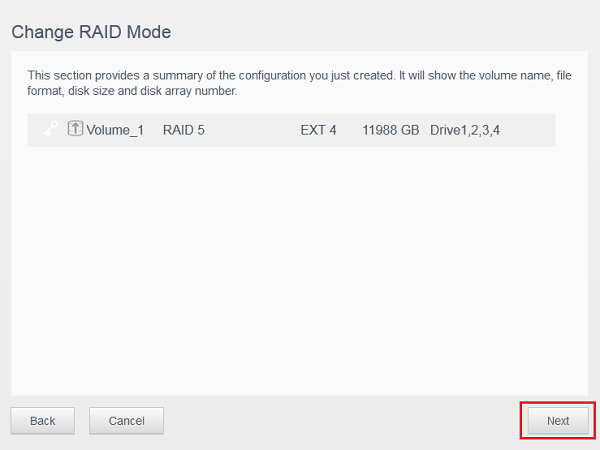
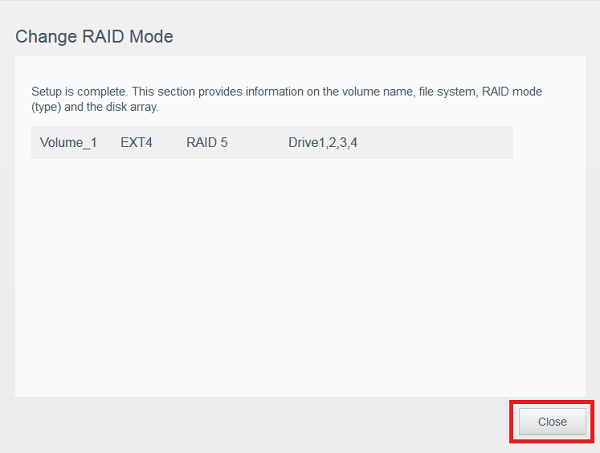
- Verify the information and click Next
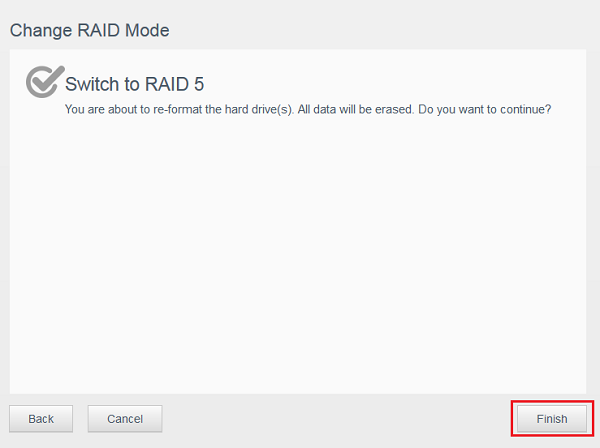
- Click Finish
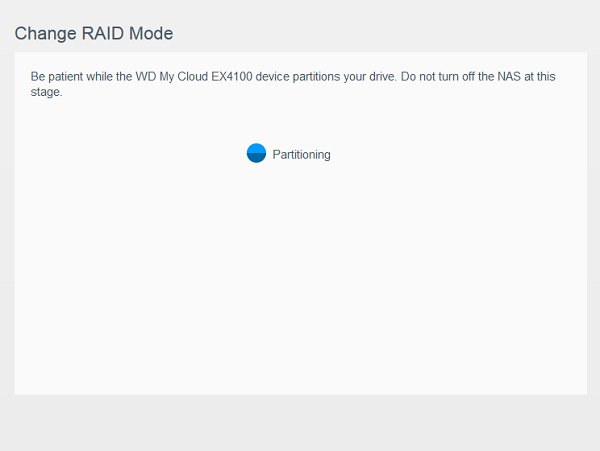
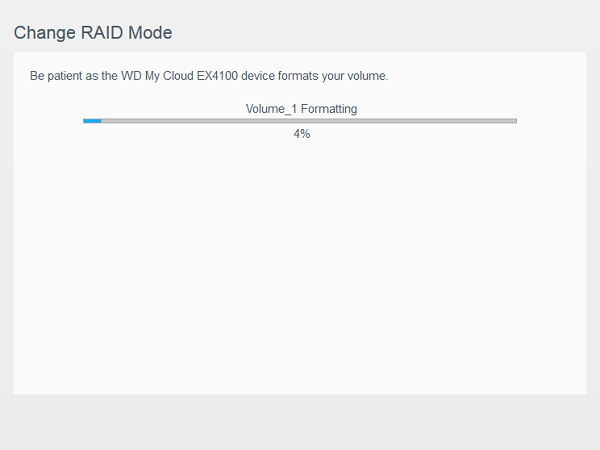
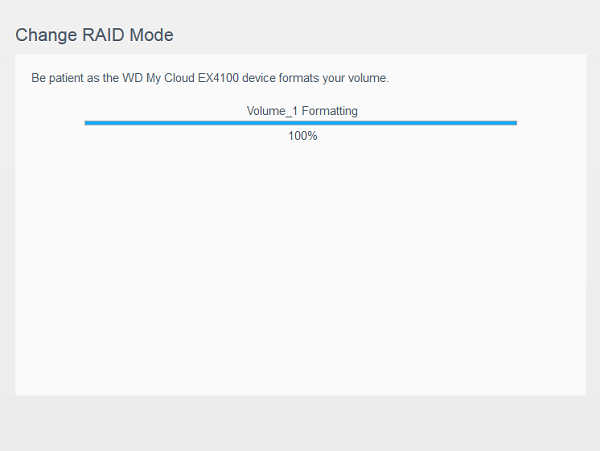
- Wait for My Cloud device to partition and format the volume
- Click Close when the setup is complete
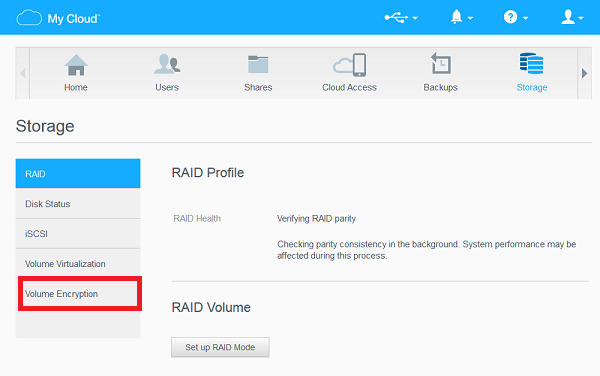
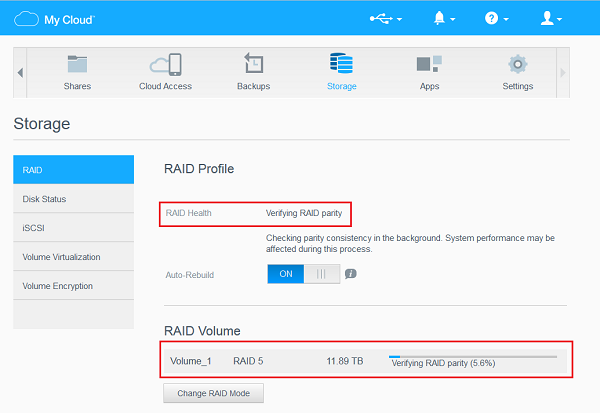
- While the My Cloud device is verifying the RAID parity, click the Volume Encryption tab under Storage
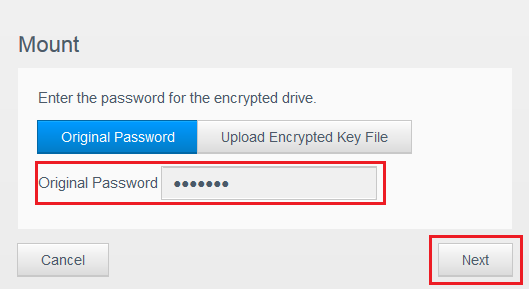
- Click Mount
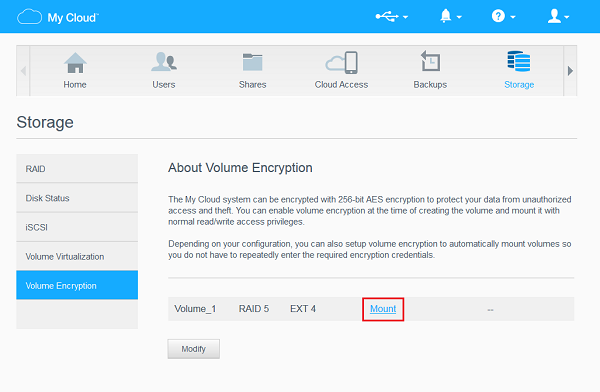
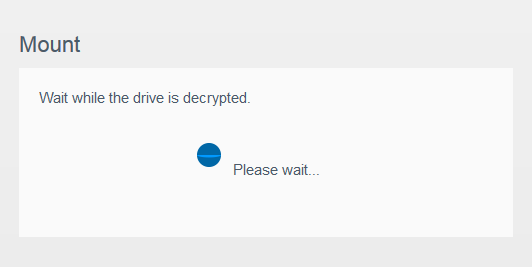
- Enter the password for the encrypted drive and click Next to mount the volume
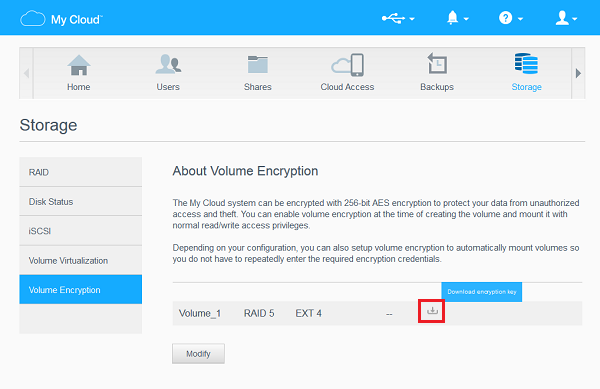
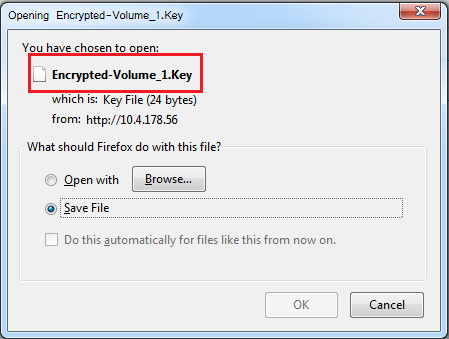
- Click the Download button to download the encryption key and save it somewhere safe and secure
- Note that system performance may be affected while My Cloud device is verifying the RAID parity
IMPORTANT:
If the Auto Mount feature is OFF, you will be prompted to enter a password using the dashboard after every system boot cycle.
Switching or changing between Manual and Automatic mounted encryption volumes is not supported. A new volume will need to be configured.