|
|
|
|
|
|
|
|---|---|
| Welcome to My Cloud Home | Click here for Instructions |
| Getting Started - Connecting a My Cloud Home Device | Click here for Instructions |
| Software Setup | Click here for Instructions |
| My Cloud Home Mobile App Auto Camera Backup Features | Click here for Instructions |
| Adding Content | Click here for Instructions |
| Viewing and Deleting Content | Click here for Instructions |
| Share Content | Click here for Instructions |
| Create and Manage Albums | Click here for Instructions |
| Invite or Remove A User | Click here for Instructions |
| My Cloud Home Software Version and Mobile App Version | Click here for Instructions |
| Rename a My Cloud Home | Click here for Instructions |
| Shutdown or Reboot a My Cloud Home | Click here for Instructions |
| System Erase a My Cloud Home | Click here for Instructions |
| Collect My Cloud Home Mobile App Logs | Click here for Instructions |
| Rename a My Cloud Home | Click here for Instructions |
| Shutdown or Reboot a My Cloud Home | Click here for Instructions |
| Personal Settings - Edit Account Name and Profile Picture | Click here for Instructions |
| Personal Settings - Change Password and Set Passcode | Click here for Instructions |
| Play Music On a My Cloud Home | Click here for Instructions |
| 3rd Party App: My Cloud Home Social Media and Cloud Import | Click here for Instructions |
| 3rd Party App: How to Use Mirror It with My Cloud Home | Click here for Instructions |
| App Permissions | Click here for Instructions |
| System Erase a My Cloud Home | Click here for Instructions |
| Collect My Cloud Home Mobile App Logs | Click here for Instructions |
| RMA - Replacing A Drive | Click here for Instructions |
| Solutions and Support | Click here for Instructions |
| Compliance and Warranty Information | Click here for Instructions |
Welcome to My Cloud Home
Features
- One central place to store and organize everything — My Cloud™ Home storage is home to all your content. With enough space to keep all your photos, videos and files in one place at home, you can organize it your way and access from anywhere with an internet connection.
- Quick and simple setup — Set up your My Cloud™ Home device quickly. Just plug it into your Wi-Fi router. Then, use your mobile device to visit MyCloud.com/hello to set up your account, and start backing up, accessing and sharing. No computer necessary and no monthly fee required!
- Everything saved twice with Mirror Mode — My Cloud™ Home Duo comes equipped with two hard drives and is set to Mirror Mode (RAID 1)*, so all your photos, videos and files are stored on one drive and automatically duplicated onto the second drive for extra peace of mind.* This feature applies only to the My Cloud Home Duo, not the My Cloud Home single-drive device.
- Mobile, on-the-go access — Use the My Cloud™ Home mobile app, desktop app or MyCloud.com to upload, access and share your favorite memories and stream videos saved on your My Cloud™ Home device.
- Auto backup for photos and videos on your phone — Automatically back up photos and videos on your phone to the My Cloud™ Home device so you can make room for more.
- USB port to import photos and videos from all your devices — Quickly import photos and videos from all the different devices scattered around your house, like USB flash drives and external hard drives, using the USB port on the back of the My Cloud™ Home. Keep all your favorite moments, action shots and adventures stored in one central, organized place.
- File search to find content easily — Quickly find photos, videos, movies and docs using easy-to-use search with the My Cloud™ Home mobile or desktop app, or on MyCloud.com.
- Individual, private spaces for each user — Invite family and friends to create individual accounts. Each invited person can set up their own private space that only they have access to on the device. They can manage, access and share their content as they want.
- Third-party applications to customize your way — Tailor your My Cloud™ Home device to fit your personal needs and preferences using downloadable services, including Plex™ Media Server, Dropbox™, Google Drive and more. Cloud services may be modified and vary by country.
- Cloud account download to keep everything in once place — Store everything in one place, even content in your favorite cloud accounts. Photos, videos and files from your cloud accounts are automatically downloaded to your My Cloud™ Home device, including Dropbox™, Box, Google Drive, Facebook and many more.
- Auto backup for all PCs and Mac computers at home — The My Cloud™ Home device has enormous capacity and plugs into your network to wirelessly back up every computer at home to one central place. It works seamlessly with Windows® Backup and Time Machine software.
- Smooth video playback anywhere — Stream your personal videos anywhere, on any device, using the My Cloud™ Home mobile and desktop app or MyCloud.com.
- Quick and easy sharing — Collect all your favorite memories and moments in one place. With just a few clicks, share photos, videos, documents or entire folders with friends and family, so nobody misses a thing.
- For more information about requirements and compatibility, refer to Answer ID 20098 My Cloud Home Requirements and Compatibility
Connecting a My Cloud Home Device
Basic Hardware Connections
IMPORTANT:
To avoid overheating, make sure the device is standing in an upright position and nothing is blocking or covering the slots and openings on the top and bottom of the device.
Follow these three basic steps for connecting your device:
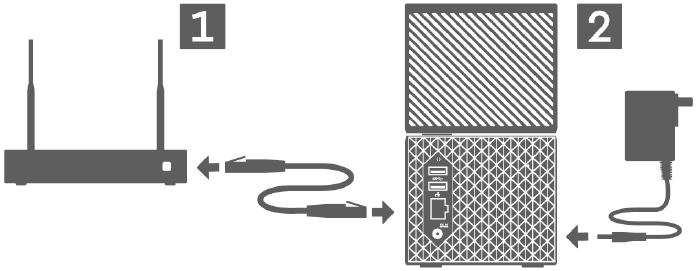
- Using the provided Ethernet cable, connect one end of the cable directly into a port on your router and the other end of the Ethernet cable into the Ethernet port on the My Cloud Home device.
- Connect one end of the power adapter into the power supply socket on the back of the device and the other end of the power adapter into a power outlet.
- The unit will automatically power on. Continue with the next section, Software Set Up
IMPORTANT:
My Cloud Home devices must be connected to the Internet. They should be connected to an available router through the included Ethernet connection. (This is not a Wi-Fi® device.) Gigabit capability for the router or switch is recommended to maximize performance. The router requires a Broadband (WAN) Internet connection with an Internet Service Provider (ISP) for initial setup, software downloads and for accessing the device.
Software Setup
The initial setup process for any My Cloud Home device requires an Internet browser and Internet access as outlined in the Answer ID 20098: My Cloud Home Requirements and Compatibility.
Follow steps outlined below:
-
Now that the initial setup is done, the My Cloud Home device can be accessed and configured using three different My Cloud tools:
For differences between the three different My Cloud tools, refer to:
Answer ID 23001 Differences between My Cloud Home Web, Mobile and Desktop App.
My Cloud Home Mobile App
Follow these steps to download the My Cloud mobile app and to begin using the mobile app:
- The All Done page now opens with the following options:
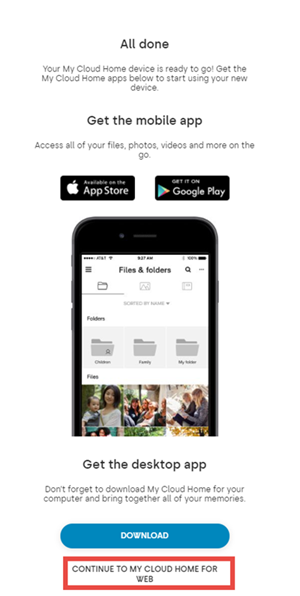
- Download the My Cloud Home mobile App from either the Apple® App Store or Google Play® store.
- Download the My Cloud Home Desktop App.
- To continue using the MyCloud.com Web App click CONTINUE TO MY CLOUD HOME FOR WEB.
- My Cloud Home mobile App - provides robust access and product management on Android and iOS platforms.
- MyCloud.com Web App - provides quick access via an Internet browser on different operating systems and does not require software installation.
- My Cloud Home Desktop App - provides quick and basic folder access through a Windows or Mac personal computer.
- The All Done page now opens with the option to get the My Cloud Home mobile app from either the Apple® App Store or Google Play® store. Select which store is appropriate for your device.
- For Apple iOS download and install from the Apple App Store: My Cloud Home App.
- For Android download and install from the Google Play store: My Cloud Home App.
- When launching the App on a mobile device, the Welcome To My Cloud page will launch. This page provides the options to CREATE ACCOUNT or SIGN IN.
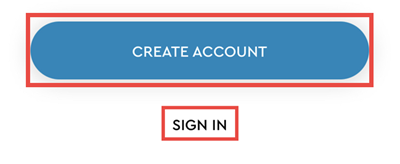
- Click Sign In using your Western Digital Account.
IMPORTANT:
Two-Factor Account (2FA) verification is required when accessing from a new device for the first time or when required. If not prompted for the (2FA) verification code, Continue to Step 6. - Check the inbox of the email account used to access the device for the Two-Factor Account (2FA) verification code from Western Digital. The account verification code email will come from from noreply@accounts.westerndigital.com. If the verification code email is not found in your Inbox, please check the Junk and Spam folders.
- Copy the Two-Factor Account (2FA) verification code.
- Enter the Two-Factor Account (2FA) verification code provided in the email message into the box named: Enter the code.
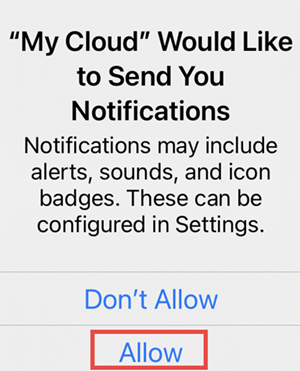
Click Continue. - My Cloud would like to send you notifications, click Allow.
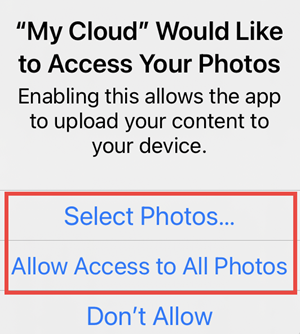
- "My Cloud" would like to access your photos.
click Select Photos... or click Allow Access to All Photos.
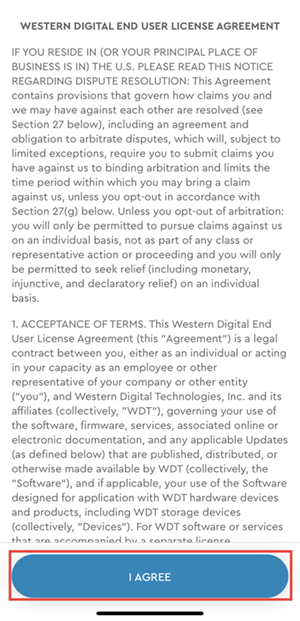
- The Western Digital End User License Agreement will appear, click I AGREE button.
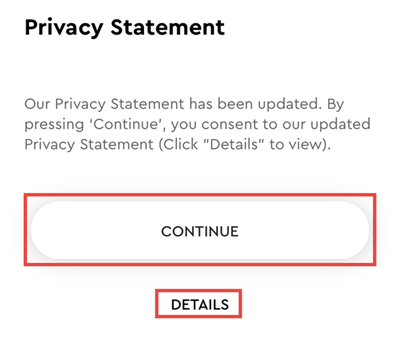
- Click Details to view the Privacy Statement, click the CONTINUE button to consent to the Privacy Statement.
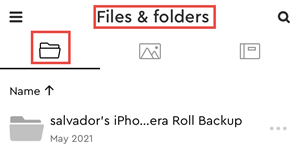
- If the My Cloud mobile app is still 'Signed In' from previous use, the My Cloud mobile app will bypass the Sign In page and go directly to the Files & folders screen.
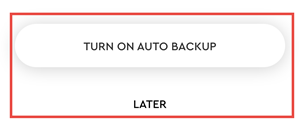
- If you want your device to automatically save your photos and videos to your My Cloud Home, then tap the ENABLE AUTO BACKUP button . If not, tap LATER.
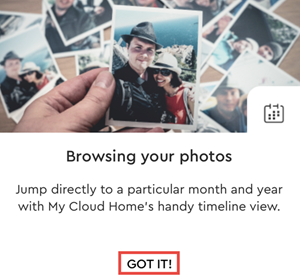
- Browsing your photos, jump directly to a particular month and year with My Cloud Home handy timeline view.
Tap GOT IT!
- First time set up is now complete. The Files & folders window will appear.

- Content accessibility is now available through the My Cloud Home mobile app.
- The All Done page now opens with the following options:
Mobile Device Camera Backup
The Camera Backup feature is a function of the My Cloud Home mobile app, and is not available with the My Cloud Home desktop app or MyCloud.com web app. This feature is enabled when signing into the My Cloud Home mobile app or can be setup manually.
For more information about the Auto Camera Backup feature, refer to Answer ID 13504 My Cloud Home Mobile App Auto Camera Backup Features
Add Content
Using the My Cloud Home mobile app, content can be added to the My Cloud Home device in real time.
Follow the steps below:
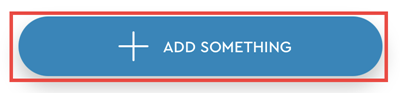
- Tap the ADD SOMETHING button.
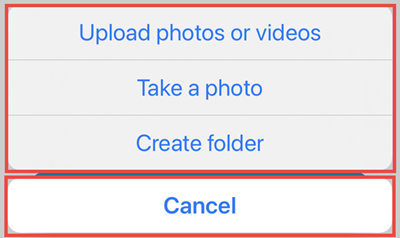
- Tap Create Folder to create a new folder, Take a photo to take a new photo and upload it, or tap Upload photos or videos to upload media already on the mobile device. Tap Upload photos or videos, to add content. To exit, tap Cancel
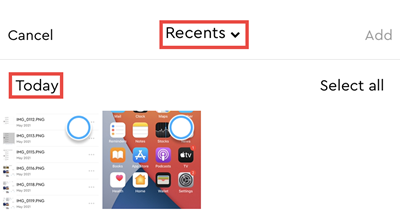
- A screen showing the media ordered by most Recents will appear. Select the photos and/or videos to upload.
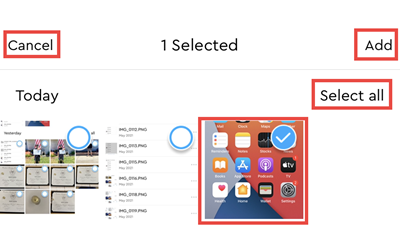
- Tap The pictures, or tap Select all and tap Add at the top right. Tap Cancel to not upload the selected media.
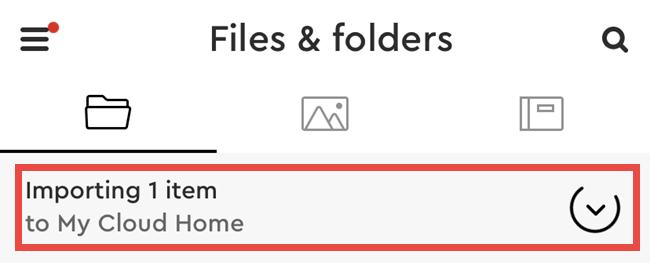
- A notification will appear at the top of the app to notify of the upload process.
 | At the moment only photos and videos may be uploaded through the My Cloud Home mobile app. |
Viewing, Searching, and Deleting Content
Content Viewing Options
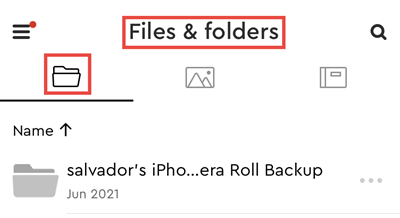
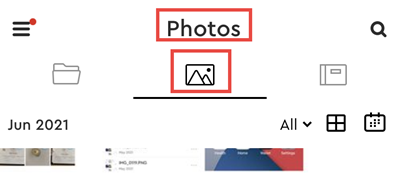
Using the My Cloud Home mobile app, content on the My Cloud home device can be browsed, or access through the Files & folders and Photos menu options.
|
|
|
 |
 |
Quick Navigation
| Searching Content | Deleting Content | Deleting Multiple Files |
|---|
Searching Content
Through the My Cloud Home mobile app and MyCloud.com web app, content can be accessed through the search feature. The search feature is highlighted with a magnifying glass symbol.
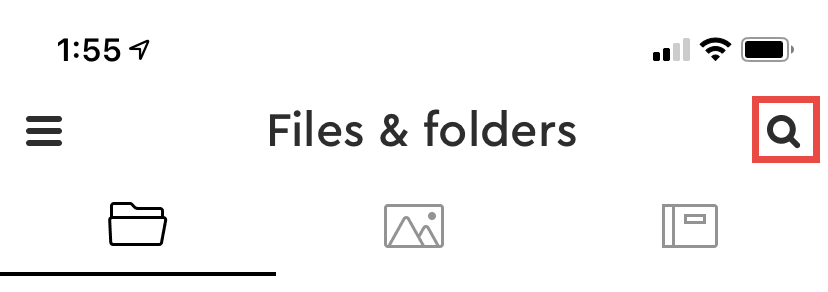
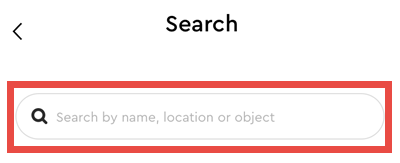

- Select Search.
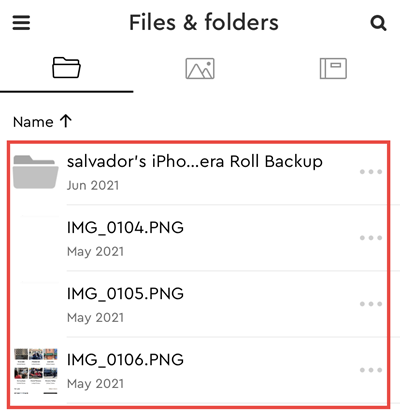
- Search by name, location, or object.
- Select the file you want to view.
Refer to the following document for more information on searching: Answer ID 19488 My Cloud Home Mobile and Web App Search Results
Deleting Content
My Cloud Home mobile app
Use the following steps to delete a file or folder from a My Cloud Home device through the My Cloud Home mobile app:
- Press and hold on an image, video, or folder.
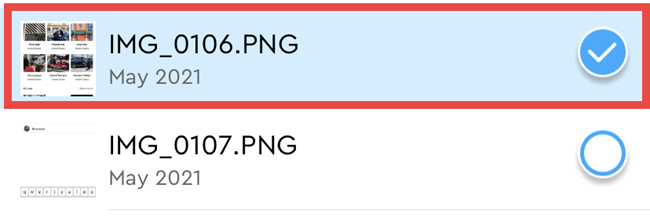
- A blue Circle with a check mark will be to the right of the selected content.
- Tap Delete icon, located at the bottom.
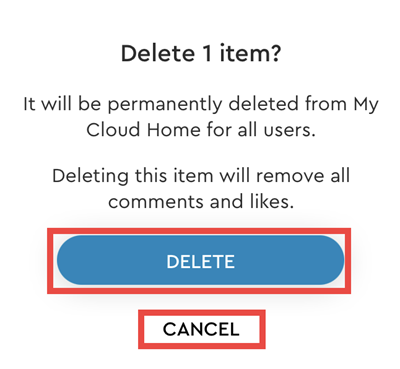
- A confirmation box will pop up that states Delete 1 item? It will be permanently deleted from My Cloud Home for all users. Deleting this item will remove all comments and likes. Tab Cancel, or the DELETE button.
Deleting Multiple Files
To delete multiple files quickly follow these steps:

- Press and hold on an image, video, or folder.
- A blue Circle with a check mark will be to the right of the selected content.
- Tap on the images, videos, or folder(s).
- Tap Delete icon, located at the bottom.
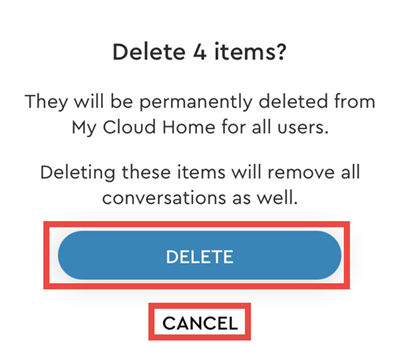
- A confirmation box will pop up that states Delete 4 items? It will be permanently deleted from My Cloud Home for all users. Deleting this item will remove all comments and likes. Tab Cancel or the DELETE button.
Software Version
For more information refer to Answer ID 5766: How to Update My Cloud Home Firmware.
To view the Software version of the My Cloud Home device, follow these steps:


- Open the My Cloud Home mobile app.
- Tap the three line menu on the upper left.
- Tap the Settings icon on the left.
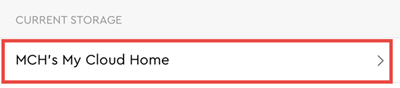
- Tap the My Cloud Home you wan to look at listed under CURRENT DEVICE.
- The Software version is listed with a series of numbers that may appear similar to: 4.0.0-388.
Mobile App Version
To view the My Cloud Home mobile app version, follow these steps:
-


- Open the My Cloud Home mobile app.
- Tap the three line menu on the upper left.
- Tap the Settings icon on the left.
- Tap About
- The My Cloud Home mobile app version is listed on top
Personal Settings
Quick Navigation
| Edit Account Name | Edit Profile Picture |
|---|
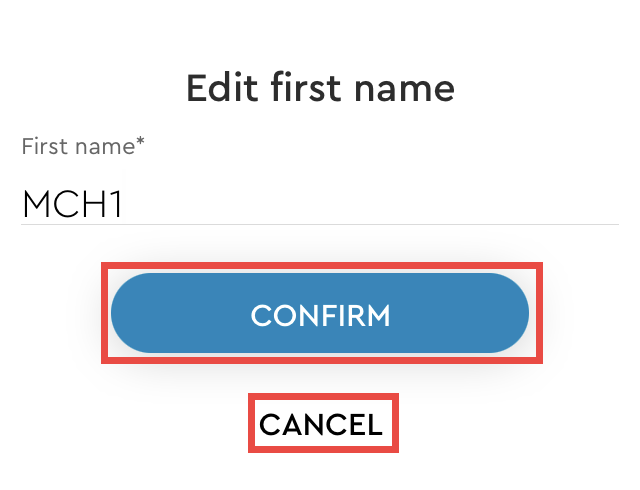
Edit Account Name

- Open the My Cloud Home mobile app.
- Tap the three line menu on the upper left.
- Tap the Settings icon on the left.
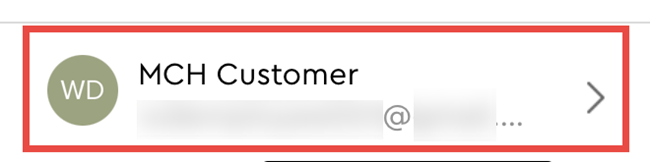
- Tap the name listed under ACCOUNT at the bottom of the page.
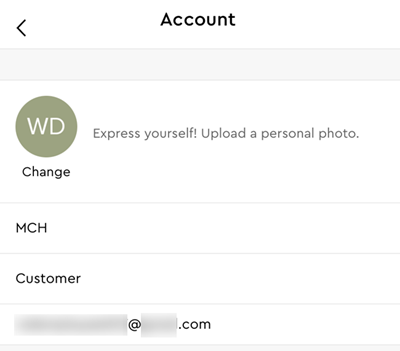
- This opens your My Cloud account information page.
- The My Cloud account name is separated into the first name and last name. Tap either one to edit. Click Cancel or the CONFIRM button.
- When completed, tap the back icon ( < ) at the top of the Account information page.
Edit Profile Picture
This process will affect the Profile Picture as seen through the My Cloud Home mobile app and MyCloud.com web app.
To add or edit the Profile Picture for a My Cloud Home account through the My Cloud Home mobile app, follow these steps:
|
|
|
 |
 |
- Open the My Cloud Home mobile app.
- Tap the three line menu on the upper left.
- Tap the Settings icon on the left.
- Tap the name listed under ACCOUNT at the bottom of the page.
- This opens your My Cloud account information page.
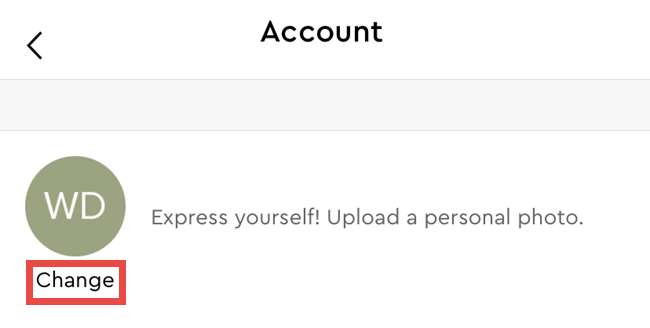
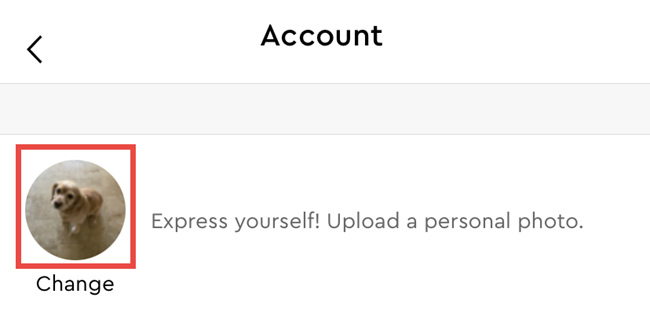
- Tap the word Change under your Profile Abbreviation.
- A Profile Abbreviation of the name on your My Cloud account is used by default until it is modified to an image.
- Select one of the three following choices: Take Photo, Choose Photo or Cancel.
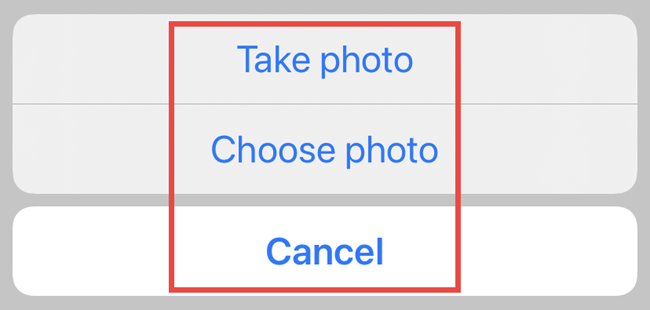
- The Take Photo option allows you to take a photograph for use as a Profile Picture.
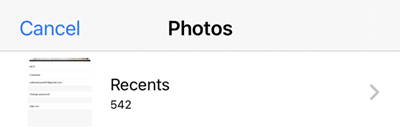
- The Choose Photo option allows you to choose a picture from your device's album collection for use as a Profile Picture
- The Cancel option cancels the process and redirects back to the Settings page.
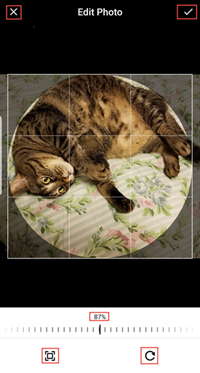
- Select the picture to use as your Profile Picture.
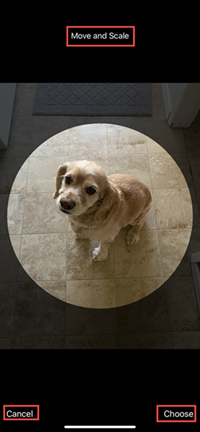
- Use the mobile device's built-in process to complete the task. This would include the option to resize the picture and to finalize the selection.
- Your new Profile Picture should now be visible.
Personal Settings
Quick Navigation
| Change My Cloud Account Password | Set Passcode |
|---|
Change My Cloud Account Password
 |
Critical: Changing the password for a My Cloud account will affect the login password for the My Cloud Home mobile app, My Cloud Home desktop app, and the MyCloud.com web app. This process is not the same as the Set Passcode feature in the My Cloud Home mobile app. |

- Open the My Cloud Home mobile app.
- Tap the three line menu on the upper left.
- Tap the Settings icon on the left.
- Tap the name listed under ACCOUNT at the bottom of the page.
- This opens your My Cloud account information page.
- Tap the Change Password option. This will open the Change Password feature.
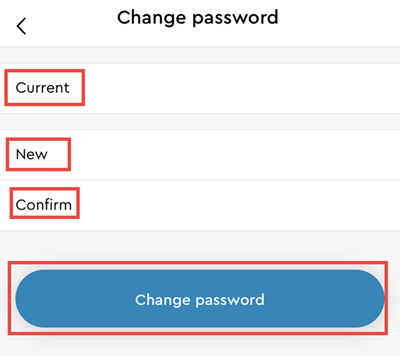
- Enter the Current password, new password and confirm the new password.
- If the passwords entered into the two fields match, tap the Change Password button.

- If the passwords entered into the two fields do not match, the Change Password button will not be visible.
- The My Cloud account password has successfully been changed.
Set Passcode
The Set Passcode feature only access to the My Cloud Home mobile app. This does not change the login password used for accessing your My Cloud account. To set a passcode follow these steps:

- Open the My Cloud Home mobile app.
- Tap the three line menu on the upper left.
- Tap the Settings icon on the left.
- The Set Passcode option is listed under the APP SETTINGS.
- Tap the slider button to enable or disable the Set Passcode feature.
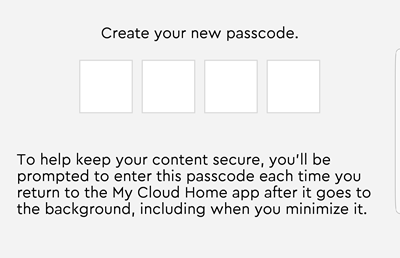
- When enabled, this feature prompts you to enter a 4-digit passcode.
- The 4-digit passcode chosen will become the passcode for accessing the My Cloud Home mobile app.
To keep your content secure, you'll be prompted to enter this device passcode each time you return to the My Cloud Home app after it goes to the background, including when you minimize it.
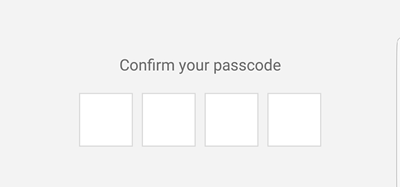
- The 4-digit passcode chosen will become the passcode for accessing the My Cloud Home mobile app.
- Confirm your passcode.
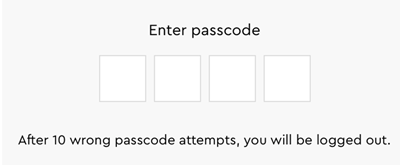
- When disabling this feature, a prompt to enter the 4-digit passcode or use of the home-button fingerprint authentication process is required as confirmation.
- After 10 wrong passcode attempts, you will be logged out.
The Passcode will be disabled. - Log back in with the My Cloud Home email and password
App Permissions
By default, the My Cloud Home mobile app enables access to the following features of your smartphone or tablet:
- iOS: Photos, Notifications, Background App Refresh and Cellular Data.
- Android: Camera, Contacts, Location, Phone, Storage and Notifications.
IMPORTANT: By default Cellular Data is not used for transferring content. The My Cloud Home mobile app uses a Wi-Fi® connection for this purpose.
To access these settings, follow these steps:

- Open the My Cloud Home mobile app.
- Tap the three line menu on the upper left.
- Tap the Settings icon on the left.
- Under the APP SETTINGS section, tap the option Manage Settings.
- This will open the My Cloud Home mobile App permissions section of the operating system specific to your smartphone or tablet. Follow the directions from the operating system to change these settings.
Replacing a Drive
My Cloud Home is not a user serviceable device. No drives can be added or removed from the device. If it is faulty, it must be returned to WD as a complete unit.
My Cloud Home Duo is a user serviceable device for RMA purposes only - you have the option to replace the drives in the device with a replacement from WD. If the entire device is faulty, it can be returned to WD as a complete unit. The unit must be powered off when removing a drive for RMA. My Cloud Home Duo does not support hotswap capability.
Removing
If your My Cloud Home Duo still contains the drive you want to replace, you must first remove it before you can insert the new one.
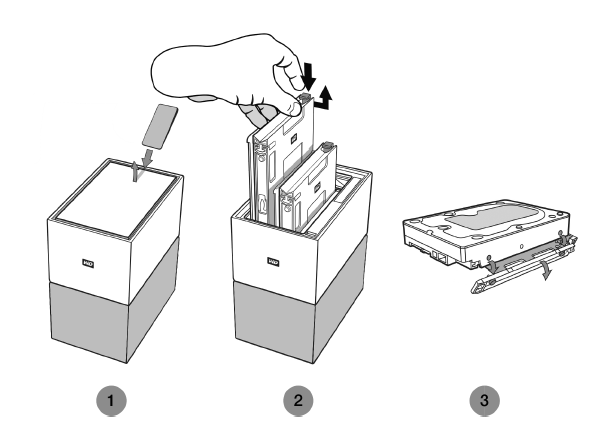
- As is illustrated above, reveal the hard drives by opening the top lid from the rear edge with the included drive access tool.
- Each hard drive is latched in place by an attached tray and the tray has a plastic latch on one end.
- Gently press down on the plastic latch with your index finger so that it unlatches from the metal frame of the device.
- While gently pressing down on the plastic latch, grab the plastic tray with your fingertips and gently pull. The tray and hard drive should easily lift up or slide out.
- Once the hard drive and tray combination are completely removed from the unit, remove the plastic tray from the hard drive.
- The tray is attached to the hard drive with four pins.
- As is illustrated above, gently flex the tray so that the pins come out of the sides of the hard drive. Remove and save the tray. Do not return a hard drive to WD with the tray. The tray will not be returned to you.
Adding
Before adding a hard drive to your My Cloud Home Duo, make sure there is no hard drive in the slot where it will be installed. If you need to first remove a hard drive, follow the instructions above.
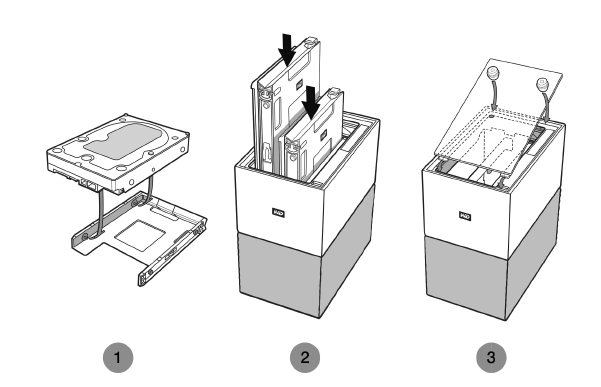
- Attach to your hard drive the plastic tray that was included and designed for the My Cloud Home Duo.
- This plastic hard drive tray fits on the underside or circuit board side of the hard drive.
- The end of the tray that is closed and has the latch must be on the side of the hard drive with the narrow serial number barcode label.
- As is illustrated above, gently flex the plastic tray so that the tiny pins on the insides of the tray go into the four holes on the sides of the hard drive. Make sure the pins remain firmly connected to the tray.
- Once the tray is attached, slide the drive into the My Cloud Home Duo.
- Orientation Note: The tray should slide in easily. Do not force it. The side of the hard drive with the SATA connector and power connector, must point down into the unit. The side of the hard drive with the small serial number barcode label must face up. The latch must be on the side of the tray that is closest to the rear panel of the unit.
- The drive is completely inserted once the plastic latch connects or latches into the metal chassis of the unit.
- Re-attach the top cover of the My Cloud Home Duo.
- Note that one end has curved hinges that go in first - then press down on the other side of the lid until it is flush with the top of the My Cloud Home Duo unit.
Replacing a Drive
My Cloud Home is not a user serviceable device. No drives can be added or removed from the device. If it is faulty, it must be returned to WD as a complete unit.
My Cloud Home Duo is a user serviceable device for RMA purposes only - you have the option to replace the drives in the device with a replacement from WD. If the entire device is faulty, it can be returned to WD as a complete unit. The unit must be powered off when removing a drive for RMA. My Cloud Home Duo does not support hotswap capability.
Removing
If your My Cloud Home Duo still contains the drive you want to replace, you must first remove it before you can insert the new one.
- As is illustrated above, reveal the hard drives by opening the top lid from the rear edge with the included drive access tool.
- Each hard drive is latched in place by an attached tray and the tray has a plastic latch on one end.
- Gently press down on the plastic latch with your index finger so that it unlatches from the metal frame of the device.
- While gently pressing down on the plastic latch, grab the plastic tray with your fingertips and gently pull. The tray and hard drive should easily lift up or slide out.
- Once the hard drive and tray combination are completely removed from the unit, remove the plastic tray from the hard drive.
- The tray is attached to the hard drive with four pins.
- As is illustrated above, gently flex the tray so that the pins come out of the sides of the hard drive. Remove and save the tray. Do not return a hard drive to WD with the tray. The tray will not be returned to you.
Adding
Before adding a hard drive to your My Cloud Home Duo, make sure there is no hard drive in the slot where it will be installed. If you need to first remove a hard drive, follow the instructions above.
- Attach to your hard drive the plastic tray that was included and designed for the My Cloud Home Duo.
- This plastic hard drive tray fits on the underside or circuit board side of the hard drive.
- The end of the tray that is closed and has the latch must be on the side of the hard drive with the narrow serial number barcode label.
- As is illustrated above, gently flex the plastic tray so that the tiny pins on the insides of the tray go into the four holes on the sides of the hard drive. Make sure the pins remain firmly connected to the tray.
- Once the tray is attached, slide the drive into the My Cloud Home Duo.
- Orientation Note: The tray should slide in easily. Do not force it. The side of the hard drive with the SATA connector and power connector, must point down into the unit. The side of the hard drive with the small serial number barcode label must face up. The latch must be on the side of the tray that is closest to the rear panel of the unit.
- The drive is completely inserted once the plastic latch connects or latches into the metal chassis of the unit.
- Re-attach the top cover of the My Cloud Home Duo.
- Note that one end has curved hinges that go in first - then press down on the other side of the lid until it is flush with the top of the My Cloud Home Duo unit.
Subject13 TEXT
Subject13 code
Subject14 TEXT
Subject14 code
Subject15 TEXT
Subject15 code
Subject16 TEXT
Subject16 code
Subject17 TEXT
Subject17 code
Subject18 TEXT
Subject18 code
Subject19 TEXT
Subject19 code
Subject20 TEXT
Subject20 code
Subject21 TEXT
Subject21 code
Subject22 TEXT
Subject22 code
Subject23 TEXT
Subject23 code
Subject24 TEXT
Subject24 code
Subject23 TEXT
Subject25 code