This article explains how to rebuild a RAID volume on a Sentinel DS.*END
IMPORTANT: WD Sentinel End of Support Notice!
WD Sentinel has reached its end of support life cycle.
Need more help?
- Answer ID 29076: WD Sentinel End of Support
- Answer ID 28740: Western Digital Product Lifecycle Support Policy
 |
Critical: If the RAID volume is set to RAID 0, there is no rebuild option. RAID 0 offers no fault tolerence. If the data is needed, please seek data recovery services. |
- Sign in to the server with an administrator level account
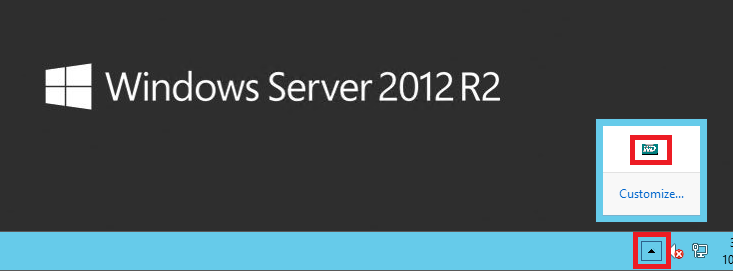
- Launch the Storage Tray by clicking the Show hidden icons arrow, then double clicking the icon
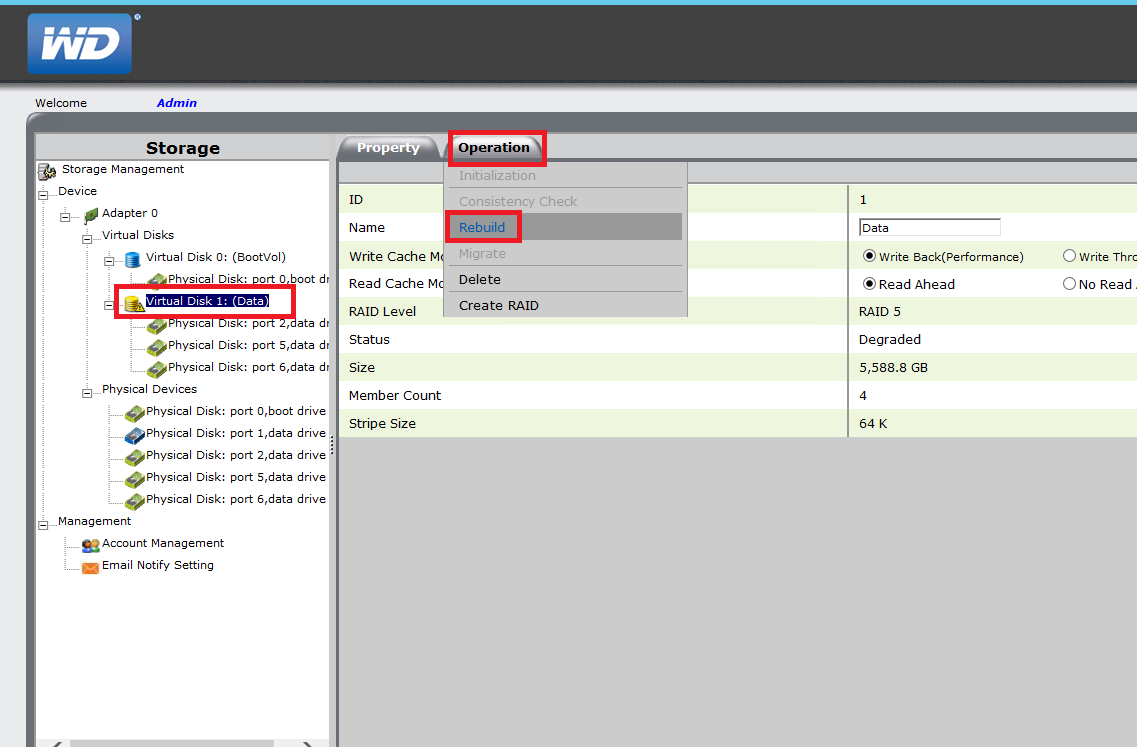
- On the left panel there will be two Virtual Disks; Virtual Disk 0: is the boot volume, and Virtual Disk 1: is the volume configured for the 3.5" HDDs (e.g. data volume).
With the replacement HDD inserted, the Physical Disk is listed under Physical Devices with a different icon. - Click on Virtual Disk 1:, mouse-over Operation, then click Rebuild
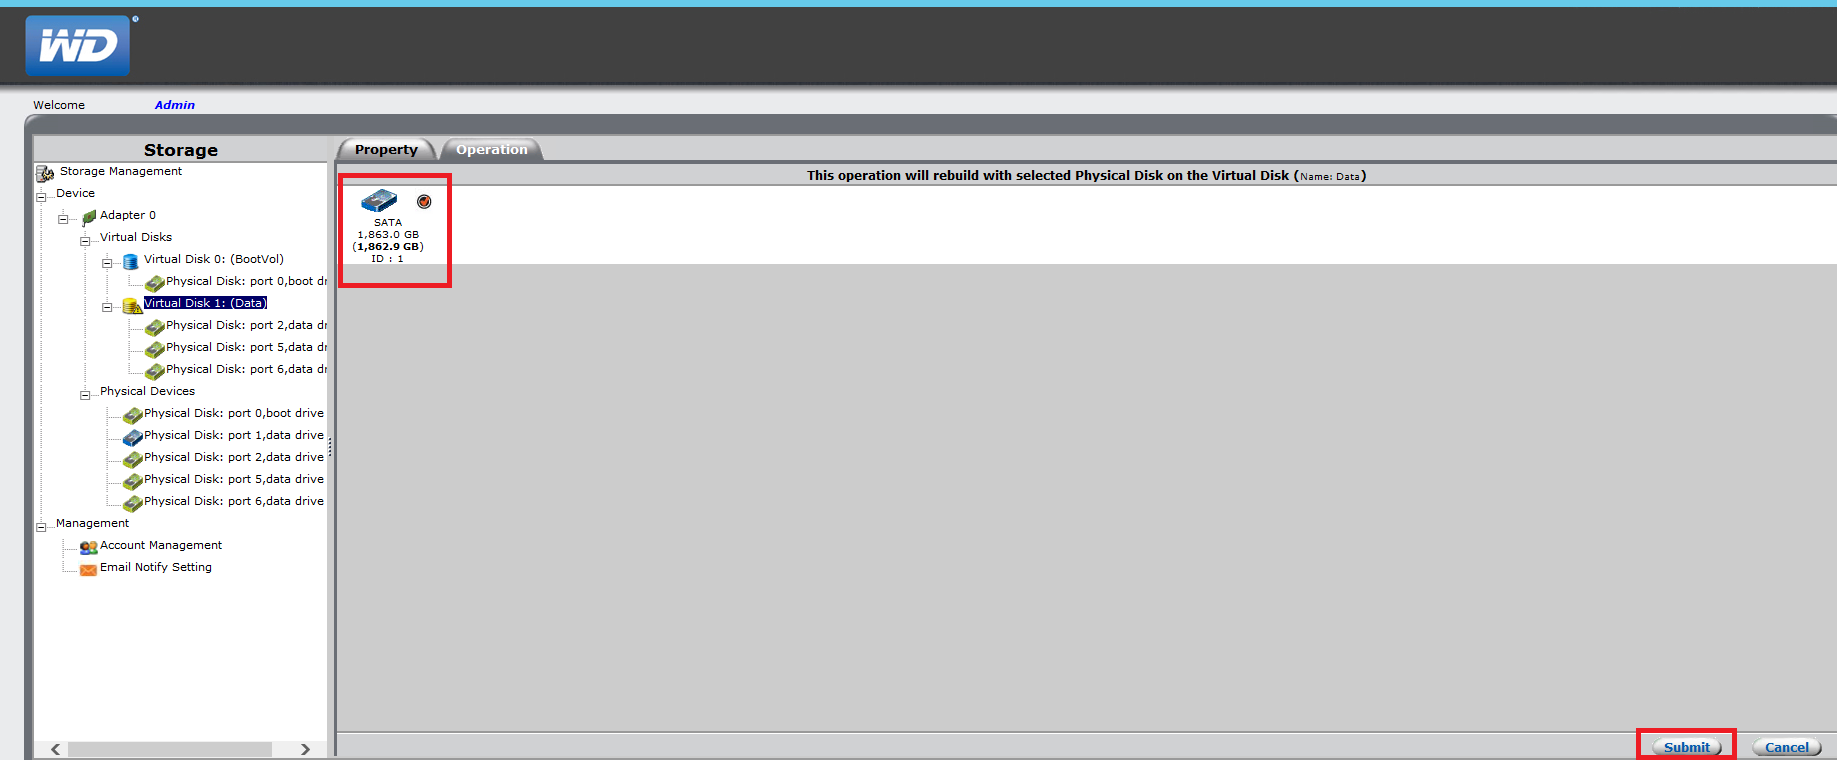
- Click on the available physical disk, then click Submit
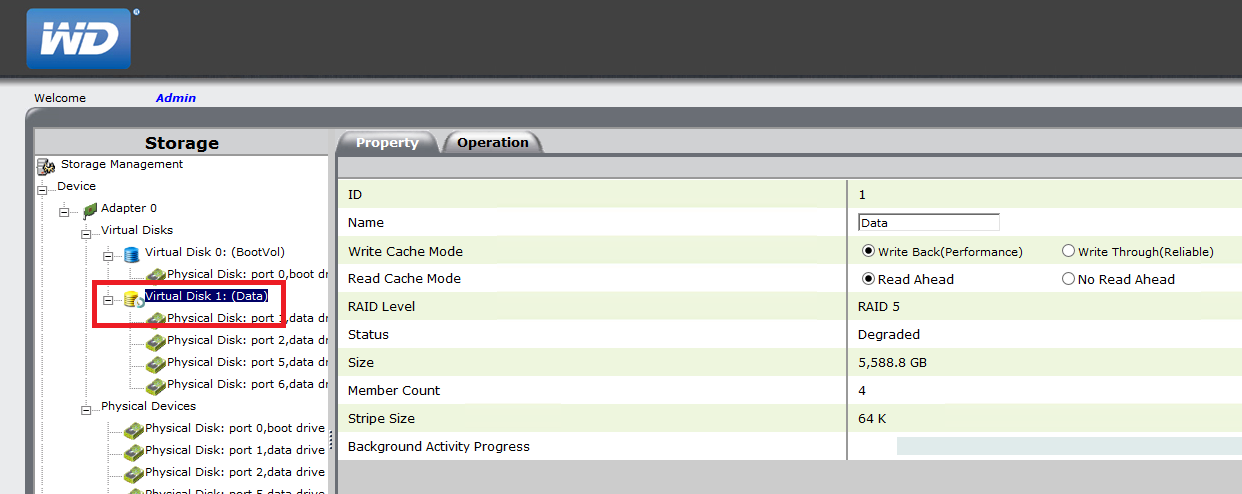
- There will be spinning circle next to the Virtual Disk 1: indicating the operation is in progress
 |
If the replacement HDD is not seen, verify that the LCD on the Sentinel does not show "Invalid Disk". If it does, there is an issue with the HDD that needs to be resolved. To see the list compatible drives, please see Answer ID 21170: WD Sentinel: Hard Drive Compatibility |