IMPORTANT:
My Passport Wireless, Wireless Pro and SSD save products images and files from computers, tablets and smartphones to this single portable drive using a wireless connection.
Need more help?
Answer ID 34297: WD My Passport Wireless End of Support
My Passport Wireless mobile app for iOS and Android is now in the Limited Updates phase. During this phase, bug fixes, updates for new features, and OS compatibility patches may stop, but Western Digital will continue to provide security updates for the app to address critical issues.
Need more help?
Western Digital Product Lifecycle Support Policy
As a secondary option to continue using your drive, connect it to the computer as outlined in the User Manual on page 19.
Need more help?
The instructions provided below will guide you through the following steps.
- Connecting wirelessly to the My Passport Wireless Pro via a web browser or mobile app
- Enabling the FTP feature on the My Passport Wireless Pro
- What configuration settings are needed on the Camera
IMPORTANT:
It is best to charge the battery before using the My Passport Wireless Pro drive the first time as the factory charge may have decreased during shipping.
Setting up the Drive for the First Time
To connect and set up the drive for wireless use, do one of the following:
- Use a computer and a web browser.
- Download and use the WD My Cloud app on your smartphone or tablet.
Using a Computer and Web Browser
 |
Ensure that your computer is wireless enabled. |
- Ensure that the My Passport Wireless Pro drive is on and the Wi-Fi LED is lit.
- Do one of the following:
- On iPhone, iPad, or an Android device, tap “Settings” and “Wi-Fi”
- In Windows, click the network icon in the notification area.
- On a Mac, click System Preferences > Network > Wi-Fi
- Select My Passport (2.4 GHz) -XXXX or My Passport (5 GHz) -XXXX from the Network list. Replace the XXXX with the last four characters of the MAC
address from the label on the bottom of your My Passport Wireless Pro drive.
The default password is printed on the Quick Install Guide and on the sticker on top of your My Passport Wireless Pro. If you can't locate the sticker or Quick Install Guide, the password is the last 8 characters of the serial number. - Open a browser and type one of the following:
- Windows computer: http://mypassport
- Windows or Mac computer: http://192.168.60.1 (the drive’s default IP address)
- Mac computer: http://mypassport.local
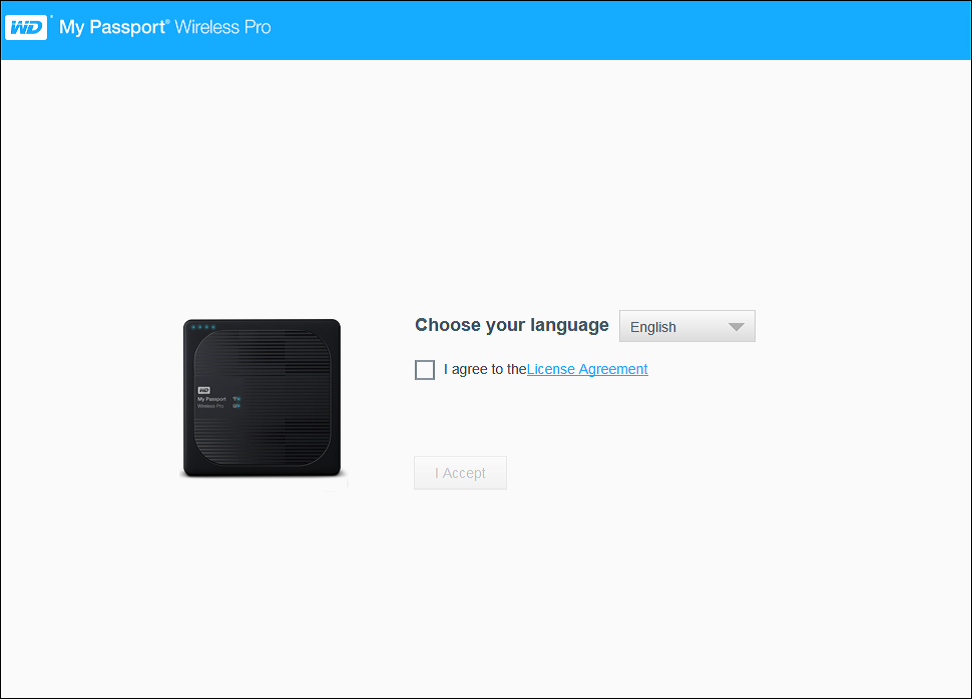
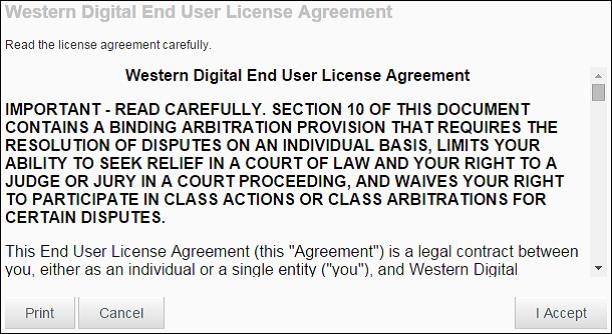
- Click License Agreement on the Getting Started screen.
- Read the agreement, then click I Accept.
- Check the I agree to the License Agreement box and click I Accept.
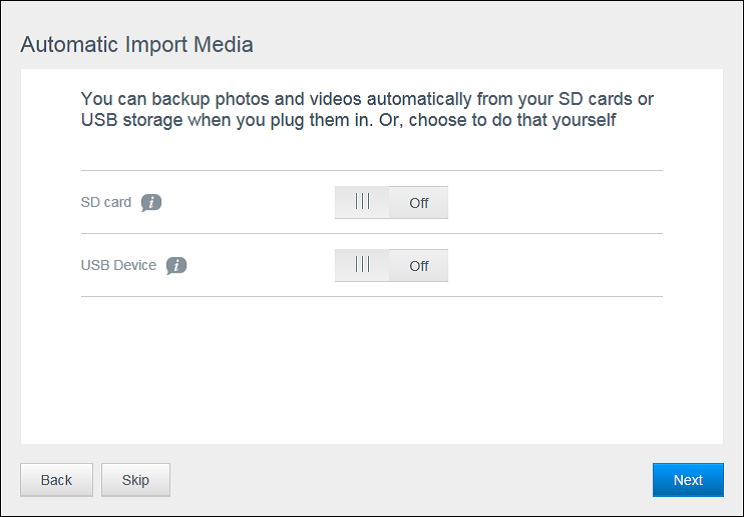
- Click one or both of the toggle buttons to On if you’d like to automatically copy
the contents of an SD card or USB device when they are plugged in to the
system. - Click Next.
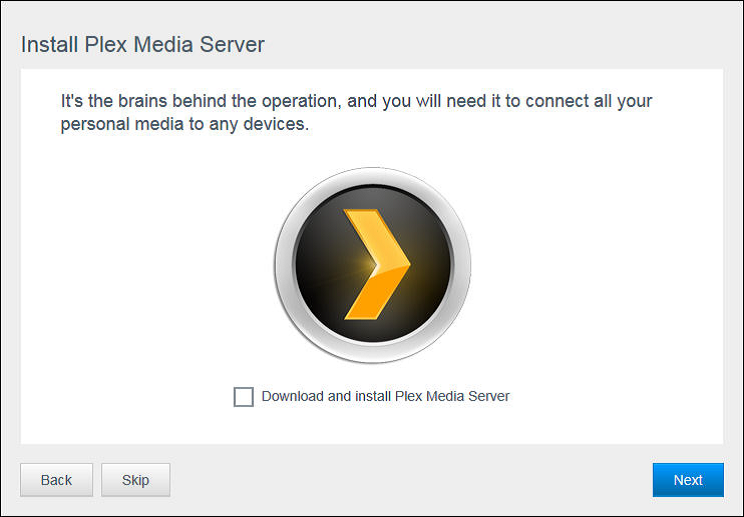
- The Install Plex® Media Server screen displays. (Optional) Check the Download and Install Plex Media Server box to install this feature. If you choose not to do this, click Skip.
- Click Next.
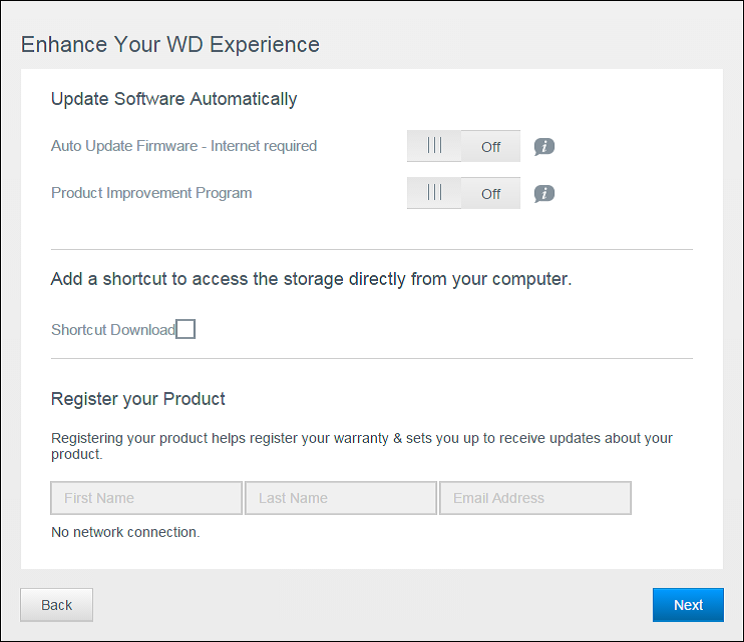
- Review the Enhance Your WD Experience screen, and click the toggle, if not already on, to automatically update your My Passport Wireless Pro software.
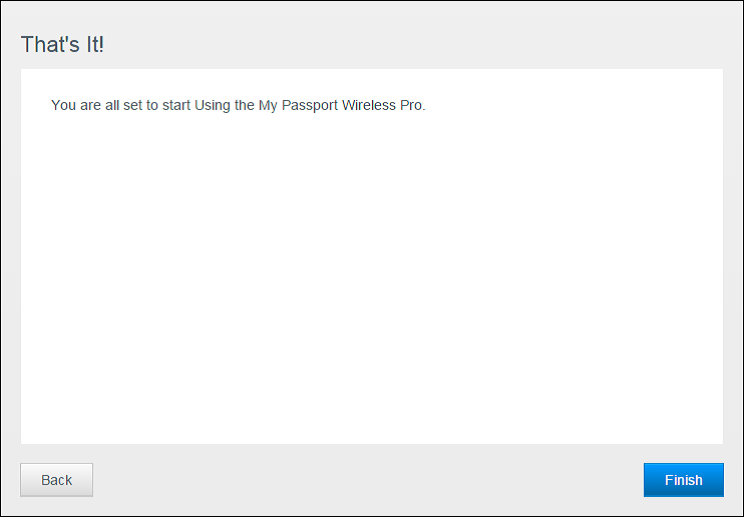
To add a shortcut to your computer, check the Shortcut Download box. Click Next. - That's It! screen displays, indicating you have sucessfully set up your My
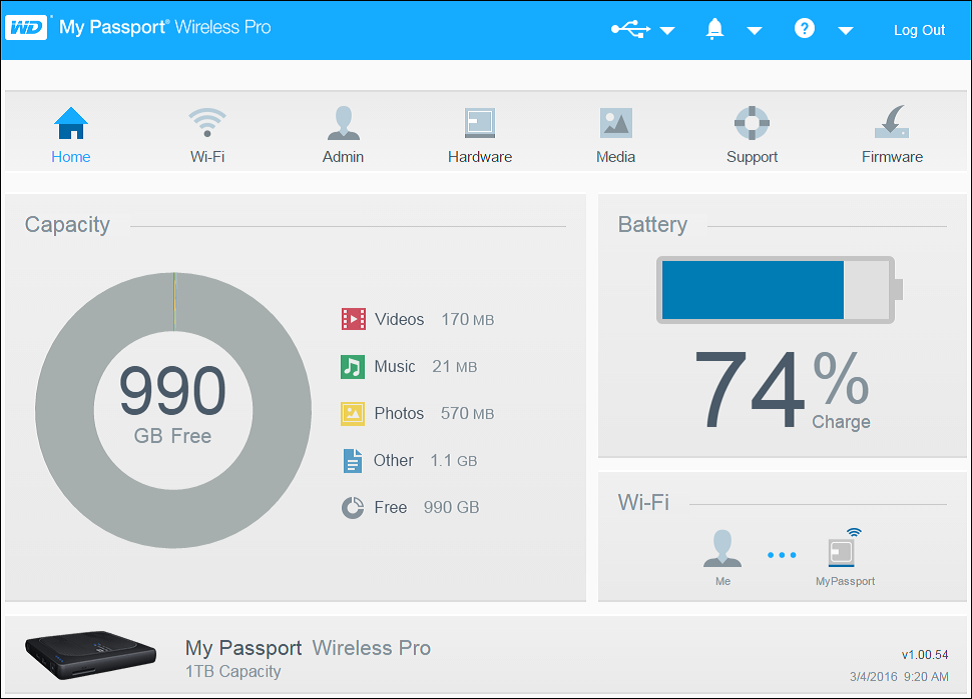
Passport Wireless Pro drive. Click Finish. - When the My Passport Wireless Pro dashboard displays, you are ready to use
your wireless drive.
Using WD My Cloud App on a Mobile Device
- Download the WD My Cloud app to your mobile device from the App Store or the Android App from the Google Play store.
- On your mobile device, go to Settings and connect to the My Passport Wireless Pro using the new name of your drive and/or your new password.
- Tap the My Cloud icon to display the Western Digital End User License Agreement.
- Read the agreement and tap Agree to display the WD My Cloud Welcome screen.
- Tap Connect Now to display a list of available WD network devices.
- Tap My Passport Wireless Pro, then tap Next to display the Secure Your Device screen.
- (Optional) Enter or change the Wi-Fi name of your My Passport Wireless Pro drive.
- (Optional) If you want to assign or change a password, enter it in both password fields.
- Tap Save Changes.
- On your mobile device, go to Settings and connect to the My Passport Wireless Pro using the new name of your drive and/or your new password.
- Tap the My Cloud icon on your mobile device and tap My Passport Wireless Pro (or whatever you named your drive).
- Click Continue Using WD My Cloud App to display your folders.
- You can now open any of the folders to view its contents.
Enabling FTP on the My Passport Wireless Pro
File Transfer Protocol (FTP) enables the transfer of content to and from your drive’s Public folder through FTP. The drive supports default Anonymous login and takes advantage of
Wi-Fi security for protection. The My Passport Wireless Pro drive is compatible with wireless cameras that support FTP.
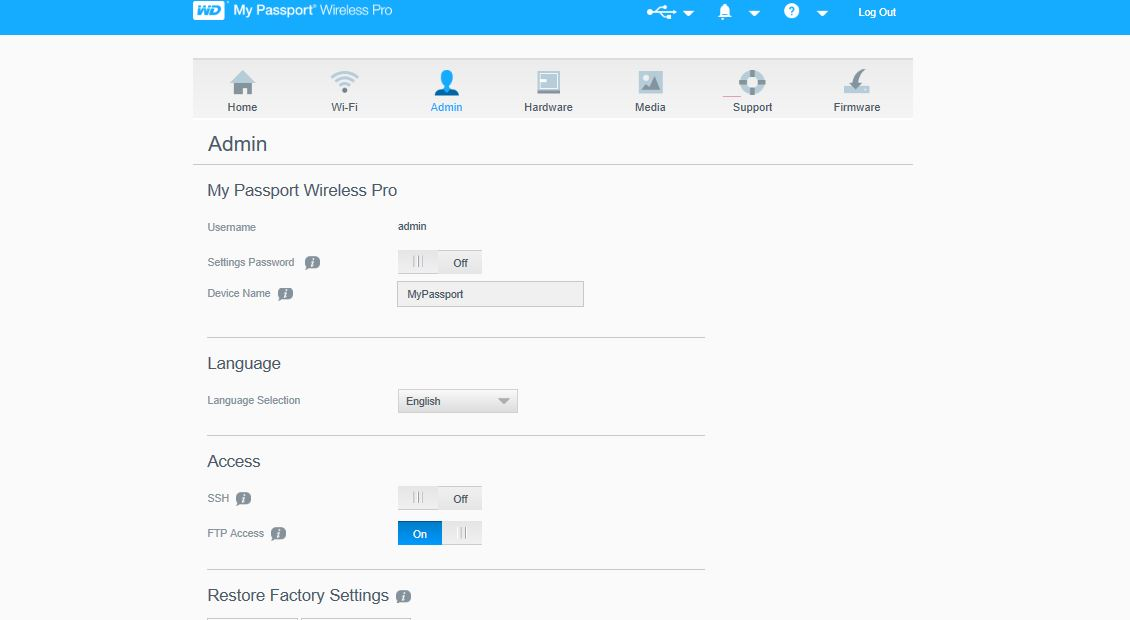
To enable FTP Access
- Open the My Passport Wireless Pro Dashboard.
- Click Admin on the navigation bar.
- In the Access section, click the FTP toggle button to On.
What to configure on the camera or other FTP device
connection on the My Passport Wireless Pro drive:
- FTP Server Address: 192.168.60.1(unless changed from default)
- FTP Server Port Address: 21 (not changeable)
- Passive Mode: Should be Disabled
- Proxy Server: Should be Disabled
- Login Method/Name: Anonymous (no password required)
- Target Folder: Public/
(case sensitive)
The following two items will need to be modified before the FTP Transfer is initiated. After starting the FTP Server Connection, the user will need to adjust the following two items in the Canon Camera, all other settings can be left as default;
- FTP Server Name or Address must be changed from: 192.168.1.1 to: 192.168.60.1
- The Target Folder must be changed from "ROOT" to: "Select Folder" ◦Then set the folder LOCATION to: Storage/folder name
| Leave the PORT number at 00021 |
| If the folder name does not exist, it will be created automatically. |
Please refer to the Canon Wireless Communication Function Instruction Manual for FTP transfer settings instructions.