- Click on your Start button and open Computer (on Windows 7 and Windows Vista) or My Computer (on Windows XP)
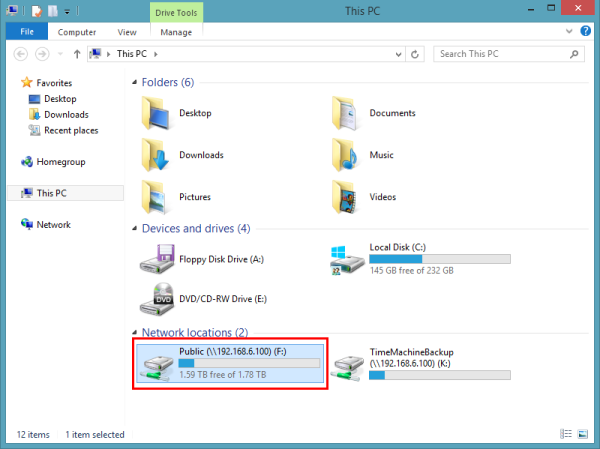
- Find the network drive you wish to unmap and Right-Click on it to select Disconnect on the list that appears.
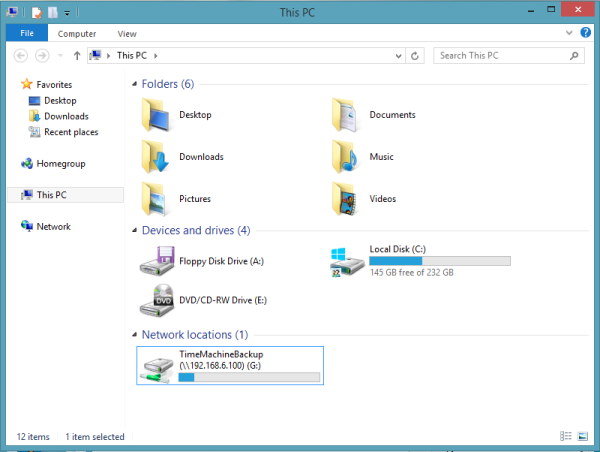
- Once the mapped drive has disappeared, press the F5 button in order to refresh the list of drives. The drive letter should no longer appear in the list of Network Attached Storage devices.
- A reboot may be required if the drive letter still appears in the list of Network Attached Storage devices after refreshing the list.
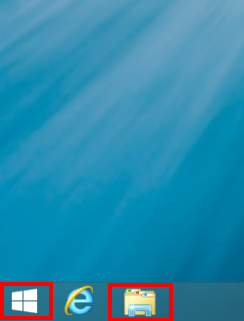
 | If on a Windows 8, Left-Click on File Explorer (folder icon on the bottom left). If on a Windows 10, Left-Click on File Explorer (folder icon on the bottom left) and then select This PC from the list to the left in File Explorer. |
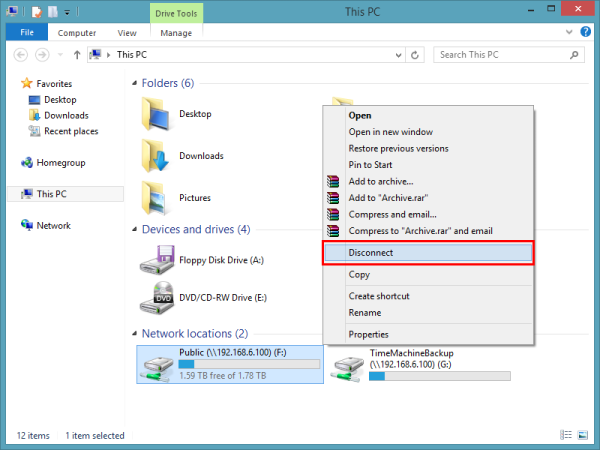
| If on a Windows 10 or Windows 8, single Left-Click to select (highlight) the drive you wish to remove, Right-Click on it and select the Disconnect option. |
| If you are unable to unmap your drive letter by following the instructions above, or if you receive an error when trying to remove the mapped letter please Contact Us. |